How to Get Stain Out of Cloth Car Seat Without Damage
Let’s face it: cloth car seats are stain magnets. Whether it’s coffee from your morning commute, mud from a hiking trip, or something mysterious your kid left behind, figuring out how to get stain out of cloth car seat can feel like a chemistry experiment gone wrong. The good news?
You don’t need a pro or a pile of expensive products. You just need the right approach for the specific stain you’re dealing with.
According to upholstery cleaning standards from the IICRC, most cloth car seat fabrics are made from woven polyester or nylon. These materials are durable but highly absorbent. That absorbency means stains sink in fast.
It also means they can be lifted out if you act with the right method. Below we will walk through exactly what to do, step by step.
Quick Answer
Identify the stain type first. Blot fresh spills immediately with a clean cloth. For grease, use dish soap.
For organic stains, use an enzyme cleaner. For water-based stains, use vinegar and water. Always blot, never scrub.
Rinse and dry completely.
The Problem: Why Cloth Car Seats Seem to Hold Every Stain Forever
Cloth car seats are basically giant sponges. The woven polyester fabric used in most vehicles is designed to be breathable and comfortable, but it is also incredibly porous. That porosity works against you when a spill happens.
Liquid soaks into the fibers quickly. Once it reaches the foam padding underneath, it can sit there and dry into a stubborn mark. The longer a stain stays, the more it bonds with the fabric fibers.
Heat from sunlight or the car interior can set the stain permanently, making removal much harder.
This is why acting fast matters. Whether you own the car or are driving a rental vehicle, the cleaning steps remain the same. If you need a car seat for your rental, check the options for rental car child seats.
But the cleaning process itself doesn’t change.
The key is matching your cleaning method to the stain type. That brings us to the most important question.
The One Question That Changes Everything: What Kind of Stain Is It?
Not all stains are created equal. Using the wrong cleaner can lock a stain in for good. So before you grab any product, figure out what you are dealing with.
Here is a quick breakdown:
Grease & Oil – The Fast Food and Sunscreen Culprit
Grease stains come from food, hand lotion, sunscreen, or lip balm. They look like dark, oily patches that don’t dry hard. Water won’t remove them because oil repels water.
You need a degreasing agent like dish soap to break the oil down.
Organic Stains – Blood, Vomit, and Urine (These Need Special Care)
Organic stains contain proteins. Heat sets them. Never use hot water or a steam cleaner first.
Enzyme cleaners are the best choice because they break down proteins at a molecular level. Hydrogen peroxide can also work on blood, but test it first to avoid bleaching.
Water-Based Stains – Coffee, Juice, Soda, and Mud
These stains dissolve in water, so they are often the easiest to remove. A simple solution of white vinegar and distilled water works well. Blot with a cloth, then rinse with clean water.
Mystery Stains and Dried-On Legacy Marks
If you don’t know what the stain is, start with the gentlest method: mild dish soap and cool water. If that doesn’t work, try an all-purpose upholstery cleaner. Avoid scrubbing hard.
That can damage the fabric texture.
For travelers, understanding how to clean a rental car seat quickly is key. The complete guide on renting car seats with a rental car covers related logistics. But the stain removal principles here apply to any vehicle.
Your Stain Removal Decision Tree – A Visual Branch to Follow
Here is a simple decision tree to guide you:
- Is the stain fresh? Blot immediately. Do not rub.
- Is it grease? Use dish soap and water.
- Is it organic? Use enzyme cleaner.
- Is it water-based? Use vinegar and water.
- Is it unknown and dried? Use mild dish soap first, then an upholstery cleaner.
If one method does not work, move to the next. Always test in a hidden area first.
This decision tree prevents you from using the wrong approach. For example, if you treat an organic stain with dish soap, you might only spread it without breaking down the proteins.
| Stain Type | Recommended Cleaner | Key Action |
|---|---|---|
| Grease/Oil | Dish soap + warm water | Agitate, then blot |
| Organic | Enzyme cleaner or hydrogen peroxide | Dwell 15–30 min, blot |
| Water-based | White vinegar + water | Blot, rinse, blot |
| Unknown/dried | Mild dish soap or upholstery cleaner | Test first, repeat |
The Only Tools You Really Need (and What to Never Touch)
You don’t need a garage full of equipment. Here is what works:
- Clean microfiber cloths (white to avoid dye transfer)
- Soft-bristle brush (nail brush or upholstery brush)
- Spray bottle for applying solutions
- Distilled water (tap water can leave minerals)
- Wet/dry vacuum or shop vac for extraction
- Towels for drying
What to avoid: scrub brushes with hard bristles, bleach, ammonia, and steam cleaners on organic stains before pre-treatment. These can damage the fabric or set the stain. For guidance on non-toxic cleaners, check the EPA Safer Choice list.
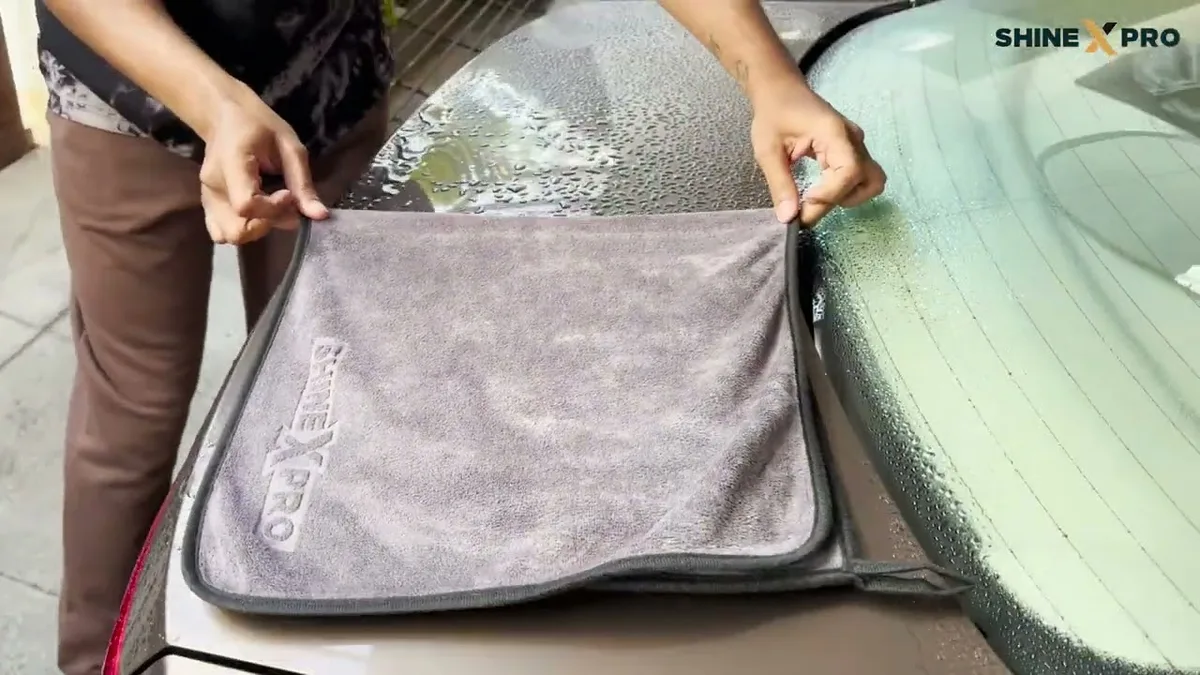
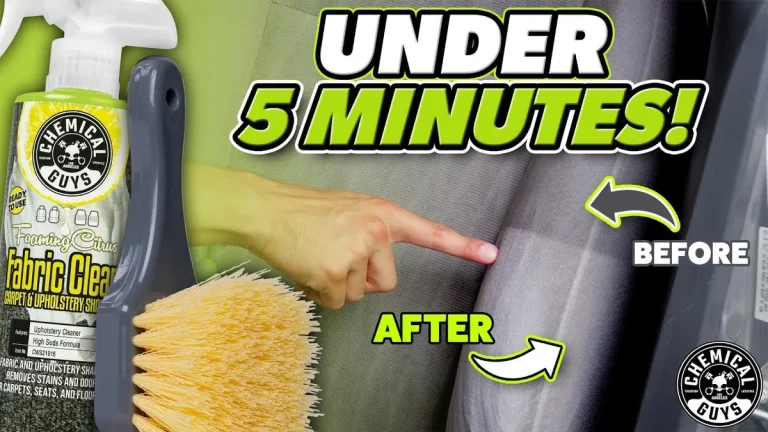
Image source: YouTube / ShineXPro (YouTube thumbnail (fair-use with source credit))
If you need a deeper clean, consider renting an extraction machine. Check the car seat rental cost guide for pricing on equipment rentals. But for most stains, these basic tools are enough.
The Universal Workflow: How to Attack Any Stain Without Making It Worse
This five-step process works for most stains. Adjust the cleaner based on the stain type.
Step 1 – Prep and Test
Vacuum the seat to remove loose dirt. Mix your chosen cleaner in a spray bottle. Test it on an inconspicuous spot (under the seat or on the back).
Wait a few minutes to check for color change or damage. If you are cleaning a rental car before returning it, consult the rental car seat policy to avoid fees.
Step 2 – Apply the Right Cleaner for Your Stain
Spray the cleaner onto the stain, not directly onto the fabric in a wide area. You want to target the stain. For grease, use a few drops of dish soap mixed with water.
For organic stains, apply enzyme cleaner and let it sit for 15, 30 minutes. For water-based stains, spray vinegar solution lightly.
Step 3 – Agitate, Dwell, and Blot
Use a soft brush to gently agitate the cleaner into the fibers. Work in a circular motion. Let it dwell for 5, 15 minutes depending on the cleaner.
Then blot with a clean microfiber cloth. Press down firmly and lift. Repeat with a fresh area of the cloth until no more stain transfers.
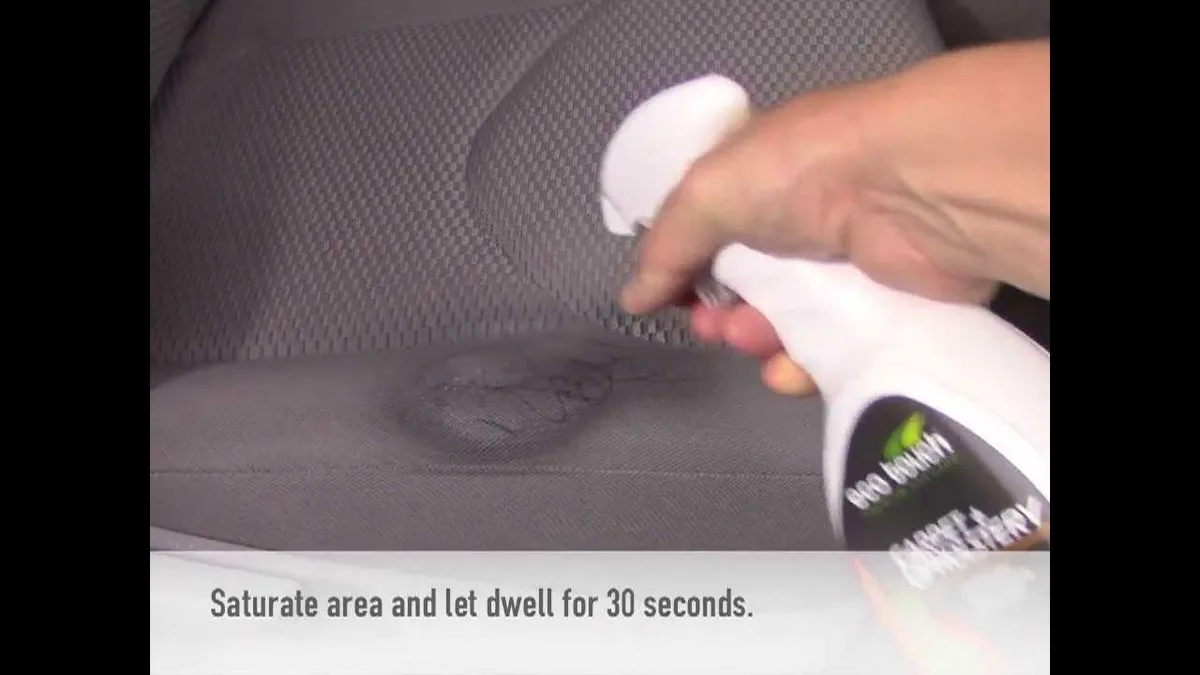
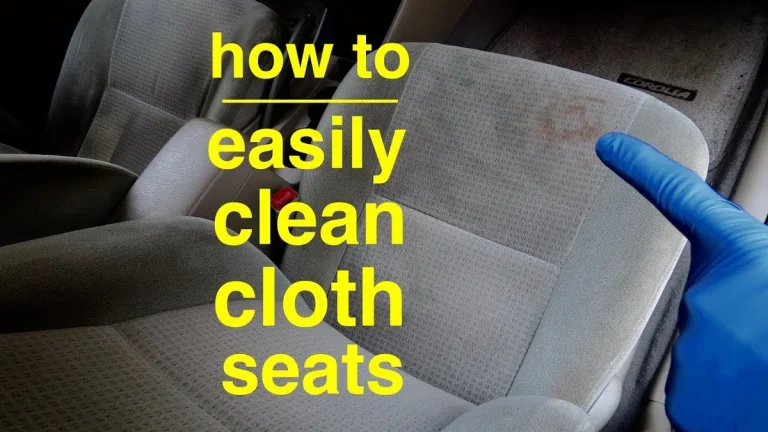
Image source: YouTube / Eco Touch (YouTube thumbnail (fair-use with source credit))
Avoid scrubbing aggressively. That can fray the fabric and spread the stain wider.
Step 4 – Extract and Rinse
If you have a wet/dry vacuum, use it to suck out the cleaning solution. Go over the area several times. If you don’t have a vacuum, dampen a towel with distilled water and blot to rinse out residue.
Soap left behind can attract dirt later.
Step 5 – Dry Properly (or Risk a Musty Smell)
Moisture trapped in the foam can cause mold and a musty smell. After cleaning, blot up as much liquid as possible. Leave the windows open or use a fan.
Place dry towels on the seat and press them to absorb moisture. Let the seat dry completely before using the car. Professional upholstery cleaning costs $25, $60 per seat, which is often less than car seat rental fees for your trip.
The Most Common DIY Mistakes That Ruin Car Seats
Most people make the same few mistakes when tackling a cloth car seat stain. Knowing what they are saves you time and frustration.
Scrubbing instead of blotting. Rubbing a stain pushes the liquid deeper into the foam. It also frays the fabric.
You always want to blot firmly and lift.
Using hot water on blood, vomit, or urine. Heat sets the proteins. That stain is then permanent.
Always use cool water and an enzyme cleaner first.
Soaking the seat. Cloth seats have thick foam padding underneath. Too much liquid can cause mold, mildew, and a musty smell.
Work in layers and extract as you go.
Skipping the test patch. That gentle cleaner might still bleach your fabric. Always test on the side or bottom of the seat.
Wait a few minutes.
Using bleach or ammonia. These strip the fabric dye and can damage the foam. They also leave toxic residue.
Stick to dish soap, vinegar, or enzyme cleaners.
Cleaning a rental car seat can be tricky. Knowing the car seat rental policies helps you avoid fees before returning it.
When to Give Up and Call a Professional Detailer
Sometimes DIY just is not enough. Here is when to hand it over.
The stain covers a large area. If it is bigger than your hand, a pro’s hot water extraction machine does a much better job than your shop vac.
You have tried multiple methods and the stain looks worse. Rings, fading, or spreading are signs you need expert help.
The odor comes back. Organic stains like urine or milk soak into the foam. A pro uses enzyme treatments and industrial extraction to get rid of the smell for good.
The seat has watermarks or residue. Overlapping cleaning spots leave rings. Pro detailers know how to blend the cleaning area.
Cost perspective. Professional cleaning runs $25 to $60 per seat. That is far cheaper than a full seat replacement.
If you are on a trip, understanding the full cost of car seat rentals helps you budget for both transport and cleaning.
How to Protect Your Seats After Cleaning (and Keep Them Clean Longer)
Once the seat is clean, keep it that way.
Apply a fabric protector. Products like Scotchgard create a barrier that repels liquids. Reapply every six months or after deep cleaning.
Use seat covers. A simple neoprene or canvas cover protects against daily spills. They are easy to remove and wash.
Vacuum regularly. Dirt and dust act like sandpaper. They grind into the fibers and make stains harder to remove.
A weekly vacuum keeps the fabric smooth.
Handle spills immediately. The first few seconds are crucial. Blot, don’t rub.
Keep a small stain kit with a microfiber cloth and a spray bottle of diluted vinegar in your glove box.
Avoid eating and drinking in the car when you can. It is the simplest prevention. If you do travel with kids, many rental companies offer specific guidance for traveling with child seats, but cleaning is your responsibility.
The Quick-Reference Cheat Sheet for Your Glove Box
Print this or save it in your phone. It gets you to the right method fast.
| Stain Type | The Cleaner You Need | The Key Steps |
|---|---|---|
| Grease / Oil | Dish soap + warm water | Apply, agitate gently, blot, extract |
| Organic (blood, vomit, urine) | Enzyme cleaner or hydrogen peroxide | Blot cold, apply, dwell 15-30 min, extract |
| Water-based (coffee, juice, mud) | White vinegar + distilled water (1:1) | Blot, spray, blot, rinse with water, extract |
| Mystery / Set-in | Mild dish soap or automotive upholstery cleaner | Test hidden spot, apply, dwell, blot, repeat if needed |
Always test first. Never rub. Dry completely.
Frequently Asked Questions (That Actually Matter for Cloth Seats)
Can I use bleach on cloth car seats?
No. Bleach damages the fabric fibers and can discolor the seat permanently. Stick to mild dish soap, vinegar, or enzyme cleaners.
Test any cleaner on a hidden area first.
How long does a cloth car seat take to dry?
Typically 2 to 6 hours depending on airflow, humidity, and how much liquid was used. Open windows, use a fan, or park in the sun. Press dry towels into the seat to speed things up.
What is the best cleaner for cloth car seats?
It depends on the stain. Dish soap for grease. Enzyme cleaner for organic stains.
White vinegar and water for everyday spills. For set-in stains, a commercial upholstery cleaner formulated for automotive fabric works well.
Can I use a steam cleaner on cloth car seats?
Yes, but only on water-based or grease stains. Never use steam on organic stains like blood or vomit. The heat will set the proteins and make them permanent.
Always pre-treat the stain before steaming.
How do I get a musty smell out of cloth car seats?
The smell comes from moisture trapped in the foam. Clean the area with white vinegar to kill mold and bacteria. Dry it thoroughly with fans and open windows.
Baking soda can help absorb lingering odors.
Will vinegar damage my cloth car seats?
No, white vinegar diluted with water is safe for most cloth car seats. It is mild, non-toxic, and neutralizes odors. Always test on a hidden area first, and rinse with distilled water after cleaning.