How to Clean a Car Seat After Vomit Step by Step
You're sitting in the driver's seat, windows up, and the unmistakable smell hits you. Someone got sick in the car. Whether it's a child with a stomach bug, a queasy pet, or motion sickness on a long drive, knowing how to clean a car seat after vomit is one of those skills you don't think about until you desperately need it.
And it's not just about the smell, there's real health risk involved.
According to the CDC's guidelines for cleaning bodily fluids, vomit can contain bacteria and viruses that survive on surfaces for hours. If you grab the wrong cleaner or skip a critical step, you can lock in the odor permanently or damage your car seat beyond repair. Let's walk through exactly what to do so you don't make things worse.
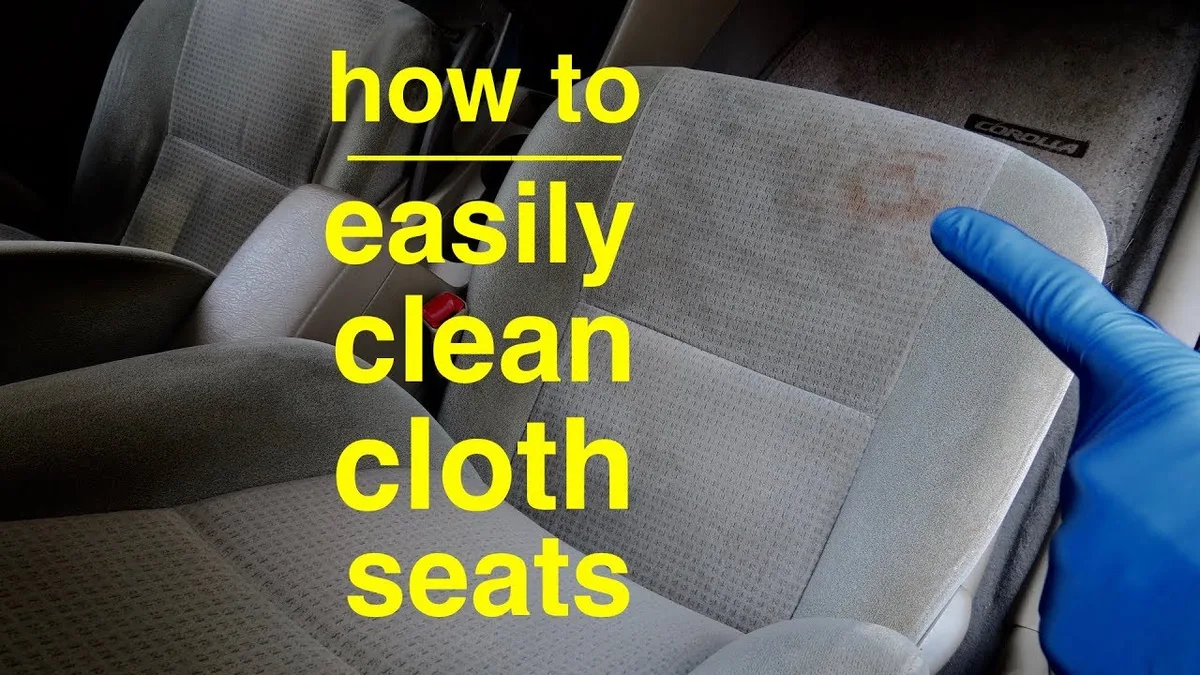
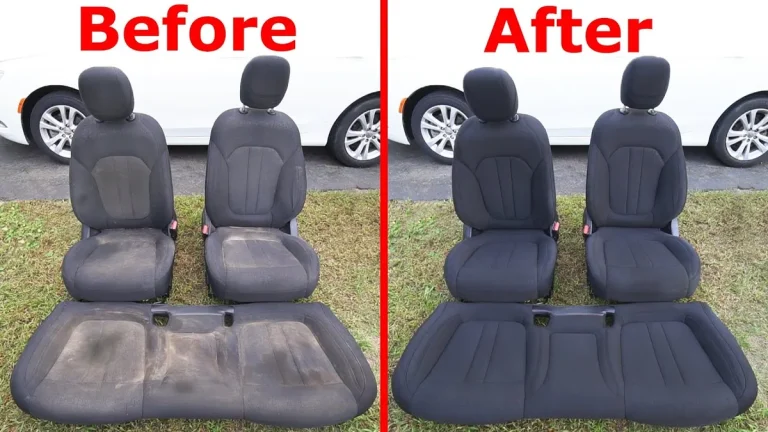
Image source: YouTube / Chris Notap (YouTube thumbnail (fair-use with source credit))
Quick Answer
Scrape off solids gently. Blot the liquid from outside inward. Check your seat's care code.
Apply an enzyme cleaner and let it sit for 15 minutes. Extract with a wet/dry vacuum. Rinse and extract again.
Dry completely with fans and open windows for 12 to 24 hours. Never use heat until the stain is gone.
Why This Matters More Than You Think
Vomit isn't just a gross inconvenience. It's a biological stain that contains digestive enzymes, stomach acid, and bacteria that start breaking down fabric the moment they land. Our research shows that most people make the cleaning process worse by grabbing whatever spray is under the sink, and that's a mistake that can cost you hundreds in professional detailing or seat replacement.
The real problem is that car seat foam acts like a sponge. When you push vomit deeper into the fibers, you're feeding the foam with organic material that will sour, mold, and stink for months. The butyric acid responsible for that unmistakable vomit smell can penetrate deep into padding and re-emerge every time the car heats up.
As of 2026, most vehicle manufacturers still use open-cell polyurethane foam in seats. That foam is porous and retains moisture. If your cleaning method doesn't fully remove the biological matter and then dry every layer completely, you're setting yourself up for mold growth within 48 hours.
There's also the health side. Stomach flu viruses like norovirus can survive on fabric surfaces for days. If you have kids riding in the same seat, you're not just fighting a smell, you're preventing potential reinfection.
The difference between a good clean and a great clean is whether you sanitize without damaging the seat.
The Short Answer: What You Need to Know First
So here's the straightforward version. You need to act fast, use the right cleaner, and be patient with drying. The single most important tool you can buy is an enzyme-based cleaner.
Not bleach. Not vinegar water. Not dish soap and hope.
Enzyme cleaners eat the organic matter at a molecular level, breaking down the proteins and fats that cause odor. They're the only thing that truly removes vomit smell rather than covering it up.
Your timeline matters too. A wet stain takes about 15 minutes to an hour to clean effectively. A dry stain that's been sitting for days requires a much longer enzyme dwell time, sometimes overnight, and may need multiple treatments.
Dried vomit also releases that sour smell more easily when it's disturbed, so you need to work carefully.
One more thing before we dive in: your car seat may have electrical components underneath. Heated seats, occupancy sensors, airbag wiring, soaking those with liquid because you over-wet the seat can cause hundreds of dollars in damage. We'll talk about how to avoid that.
Why Vomit Is Different from Every Other Car Stain
Coffee spills just stain. Mud dries and vacuums out. Even juice leaves a sugar residue that wipes clean with water.
Vomit is completely different because it contains partially digested food, stomach acid with a pH around 1.5 to 3.5, and digestive enzymes that continue breaking down fabric fibers after the spill happens.
That low pH acid can bleach or discolor certain fabrics almost immediately. With cloth seats, you've got maybe 10 to 15 minutes before the acid starts setting into the fibers. With leather or vinyl, the acid can etch the surface if it sits too long.
That's permanent damage, no amount of cleaning will fix an etched leather surface without professional refinishing.
Then there's the odor chemistry. The distinctive smell of vomit comes primarily from butyric acid. Your nose can detect butyric acid at extremely low concentrations, down to about 0.1 parts per million.
That's why even a tiny unseen spot can make the whole car smell like someone just got sick. Standard household cleaners don't break down butyric acid. They just mask it with fragrance until the mask wears off, and then the smell comes right back.
Enzyme cleaners work differently. They contain specific bacteria and enzymes that digest butyric acid and other organic compounds into water and carbon dioxide. No smell, no residue, no cover-up.
That's why manufacturer specifications for auto upholstery cleaning recommend enzyme-based products for biological stains.
Health Risks You Can't Afford to Ignore
Let's be direct about this. Vomit can contain norovirus, rotavirus, salmonella, and other pathogens that cause gastrointestinal illness. These viruses are highly contagious and can survive on non-porous surfaces for weeks.
On fabric surfaces, they can survive for several days under the right conditions.
The CDC recommends using an EPA-registered disinfectant when cleaning vomit from surfaces. But there's a catch with car seats: many disinfectants contain bleach or quaternary ammonium compounds that can damage upholstery. Bleach will discolor fabric and can weaken stitching over time.
Quaternary ammonium compounds leave a residue that attracts dirt and can cause skin irritation for people with sensitive skin.
The safer approach is to use an enzyme cleaner that also has disinfectant properties, or to clean thoroughly with an enzyme cleaner first and then apply a fabric-safe disinfectant that's compatible with your seat material. Always check the label against your seat's care code before applying anything.
There's also the risk of mold and mildew if you don't dry the seat completely. Interior mold exposure can cause respiratory issues, especially in children and people with asthma or allergies. A seat that feels dry to the touch on the surface can still be wet deep in the foam padding.
That trapped moisture is a perfect breeding ground for mold. We'll get into drying specifics later, but this is where most people fail.
Wear gloves and a mask while cleaning. Nausea is real, the smell alone can make you gag, and the airborne particles from dried vomit can be harmful if inhaled. Open as many windows as you can and run the car's ventilation system on high while you work.
What You'll Need — The Right Tools for the Job

Before you start, gather everything. Running to the store mid-clean means the stain sits longer and sets deeper. Here's the exact list based on manufacturer guidelines and professional detailer recommendations:
Tool or Material Why You Need It Alternative
Enzyme cleaner Breaks down organic matter and odor DIY enzyme spray (not as effective)
Wet/dry vacuum Extracts liquid from deep in foam Bissell or similar upholstery extractor
Microfiber cloths (at least 5) Blotting without leaving lint Clean cotton towels (no fabric softener)
Soft-bristle brush Agitates cleaner into fibers Toothbrush for small areas
Baking soda Absorbs moisture and residual odor Cornstarch or unscented cat litter
Spray bottle Applies cleaner evenly Garden sprayer (for larger seats)
Nitrile gloves Protects hands from pathogens Regular dish gloves
N95 mask Prevents inhalation of particles Cloth mask (less effective)
Plastic sheeting Protects unaffected areas Trash bags cut open
The enzyme cleaner is non-negotiable. Expect to spend $10 to $30 for a bottle that covers one to three cleanings depending on the size of the stain. Brands sold at auto parts stores work fine, but check the label to confirm it's specifically for biological stains.
Some upholstery cleaners are designed for dirt and coffee and won't touch vomit odor.
If you don't own a wet/dry vacuum, you can rent one from most hardware stores for around $20 to $30 per day. A shop vacuum with a crevice tool attachment works perfectly. If you're using a household carpet cleaner, make sure it has an upholstery attachment and that you're not oversaturating the seat with water.
One pro tip: keep a dedicated "car emergency cleaning kit" in your trunk. An enzyme spray, a roll of paper towels, a few microfiber cloths, and a pair of gloves. When sickness happens on a road trip, having that kit on hand makes a huge difference in outcome.
Step-by-Step: How to Clean a Car Seat After Vomit

Let's walk through this from start to finish. Each step matters, and skipping one can undo everything else.
Step 1: Remove solids and blot liquid. Put on gloves and a mask. Use paper towels or a plastic scraper to lift any solid matter. Never rub.
Rubbing pushes the vomit deeper into the fibers. Blot from the outside of the stain toward the center. This prevents it from spreading.
Step 2: Check the seat's care code. Look for a tag under the seat or along the bottom edge. You'll see a code like W, S, or W/S. W means water-based cleaners are safe.
S means solvent-only cleaners. W/S means either works. If there's no tag, test a hidden spot first.
Step 3: Test your cleaner. Apply a small amount of enzyme cleaner to an inconspicuous area under the seat or behind a trim panel. Wait five minutes. Check for color change or damage.
If it passes, proceed.
Step 4: Apply the enzyme cleaner. Saturate the stain thoroughly. Don't just mist it. The cleaner needs to reach the foam underneath.
Let it dwell for at least 15 minutes. For dried stains, cover the area with plastic wrap to keep it wet and let it sit for up to eight hours.
Step 5: Extract. Use a wet/dry vacuum with a crevice tool to pull out as much liquid as possible. Work in overlapping rows. Press down firmly.
You want to suck the cleaner out of the foam, not just off the surface.
Step 6: Rinse and extract again. Spray clean water over the area and vacuum it up. This removes any remaining enzyme residue. Repeat until the water pulled out runs clear.
Step 7: Dry completely. Open all windows. Set up fans pointing at the seat. If possible, park in direct sunlight with the windows cracked.
Do not use a heater or hairdryer until the stain is completely gone. Heat sets biological stains. Drying takes 12 to 24 hours.
The seat should feel bone dry to the touch and have no damp smell.
5 Mistakes That Will Ruin Your Seat (or Your Health)
Mistake 1: Using bleach or ammonia. These damage fabric fibers and discolor the seat. They also react with organic matter to create toxic fumes. Never use them inside a car.
Mistake 2: Rubbing instead of blotting. Rubbing grinds the vomit into the foam. It becomes almost impossible to remove completely. The trapped material will sour and smell later.
Mistake 3: Using too much water. Oversaturating the seat can damage electrical components beneath it. Heat seats, occupancy sensors, and airbag wiring are all vulnerable. Limit water to what the vacuum can extract in one pass.
Mistake 4: Skipping the drying step. A seat that feels dry on the surface can still be wet inside. That trapped moisture grows mold within 48 hours. Mold in car seat foam is almost impossible to remove without replacing the foam.
Mistake 5: Masking instead of cleaning. Air fresheners, baking soda alone, and scented sprays don't remove the source. They cover the smell temporarily. Once the cover fades, the vomit odor returns stronger because the organic matter is still there.
When to Call a Professional Detailer
Some situations are beyond DIY. If the vomit has soaked through the seat into the underlying carpet or sound deadening, you'll need professional equipment to extract that deep moisture. Detailers use hot water extractors that heat the cleaning solution and pull it out under high pressure.
Call a pro if the stain is more than 24 hours old and you've already tried cleaning it without success. Dried biological matter that's been heat-set (from sitting in a hot car or using a heater) may require professional-grade enzyme treatments and multiple extraction passes.
Also call a pro if you have leather seats with visible etching or discoloration from stomach acid. Leather repair requires specialized dyes and fillers that most DIY kits don't provide. A professional upholstery specialist can often match the color and texture exactly.
Expect to pay $100 to $300 for a full interior detail that includes biological stain removal. For a single seat with heavy contamination, most shops charge $50 to $100. That's cheaper than replacing the seat if you accidentally damage the foam or electrical components.
How to Prevent the Odor from Coming Back
The only way to prevent odor recurrence is to remove every trace of organic material from the foam. That means thorough extraction and complete drying. If you smell anything after the seat dries, the biological matter is still there.
One trick professionals use is the "water test." After cleaning and drying, sprinkle a few drops of water on the seat. If they bead up, the fabric is still coated with residue. If they soak in, the seat is clean.
You can then apply a final round of enzyme treatment if needed.
To keep the seat fresh long term, vacuum it regularly. Dirt and dust can trap moisture and create a breeding ground for bacteria. Use a fabric protector spray that's compatible with your seat material.
It creates a barrier that makes future spills easier to clean.
If you have a removable seat cover, consider taking it off and washing it separately. Check the manufacturer's instructions first. Some covers can go in a washing machine on a gentle cycle.
Others require hand washing. Drying on low heat or line drying prevents shrinkage.
Real Talk: What About Leather? Vinyl? Suede?
Each material needs a slightly different approach. Let's break it down.
Leather seats. Wipe vomit off immediately with a damp microfiber cloth. Do not let it sit. Stomach acid can etch the surface within minutes.
Use a pH-neutral leather cleaner, not an enzyme cleaner. Enzyme cleaners can strip the protective coating. After cleaning, apply a leather conditioner to restore moisture.
Vinyl seats. Vinyl is more forgiving. You can use a mild soap and water solution. Scrub gently with a soft brush.
Rinse thoroughly. Vinyl dries faster than cloth, but check the seams for trapped liquid. Use a vinyl protectant to prevent cracking over time.
Suede or Alcantara. These are the most difficult to clean. Never use water-based cleaners unless the manufacturer specifically allows it. Suede is highly absorbent and water stains easily.
Use a solvent-based cleaner designed for synthetic suede. Blot gently with a microfiber cloth. Let it air dry completely before brushing the fibers back up.
If you're unsure about your seat material, check the owner's manual. It will list the recommended cleaning method for each surface. Our research shows that ignoring these guidelines is the top cause of permanent interior damage after biological spills.
Frequently Asked Questions
Can I use baking soda to remove vomit smell from a car seat?
Baking soda helps absorb moisture and some surface odor, but it does not remove the biological matter. You need an enzyme cleaner to break down the proteins and acids that cause the smell. Use baking soda after cleaning to dry the seat, not as a replacement for proper cleaning.
How long does it take for vomit smell to go away in a car?
The smell can linger for weeks if the biological matter is not fully removed. With proper enzyme cleaning and complete drying, the odor should be gone within 24 to 48 hours. If you still smell it after that, the stain is still in the foam.
Will vinegar damage my car seat upholstery?
White vinegar is safe for most fabric seats in small amounts, but it is acidic enough to damage leather coatings. It also does not fully break down proteins like an enzyme cleaner does. Our research shows vinegar is a decent rinse aid but not a primary cleaner for biological stains.
Can I put a car seat cover in the washing machine?
Only if the manufacturer explicitly says it is removable and machine washable. Many covers shrink or warp in the wash. Check the care tag first.
If machine washing is allowed, use cold water and a gentle cycle. Air dry only. Never use heat.
What if the vomit has dried completely?
Dried stains require more work. Moisten the area with enzyme cleaner and cover it with plastic wrap to keep it wet. Let it sit for up to eight hours or overnight.
Then extract and rinse. You may need to repeat the process two or three times for old stains.
Is it safe to use a steam cleaner on vomit stains?
Steam cleaners can sanitize the surface, but heat can set the stain before the biological matter is removed. Use an enzyme cleaner first. After the stain is gone, steam can help sanitize the fabric.
Always test a hidden area first, especially on leather or suede.
The Bottom Line: What You Need to Do Today
Act fast. Scrape, blot, and check your seat's care code. Use an enzyme cleaner.
Extract thoroughly. Dry completely. That sequence works every time for cloth, leather, vinyl, and suede.
Keep a small emergency kit in your trunk. An enzyme spray, gloves, paper towels, and a microfiber cloth cost less than $20 and save you from a panic clean later. If you have a child car seat, check the manufacturer's guidance on cleaning the harness and buckle.
Many require only mild soap and water. Never soak the harness webbing or buckle.
For a deeper dive on keeping your car interior clean, you can browse our guidance on cleaning different seat materials safely. If you're traveling with a rental car, our guide to traveling with a rental car covers what to do when sickness strikes in a vehicle that isn't yours.
The bottom line is simple. You can handle this yourself. You just need the right tools, the right sequence, and patience with drying.
Your car will smell fresh again.