Complete Guide to How to Dry Wet Car Seats
If you're looking up how to dry wet car seats, you've likely got a soggy cushion and a growing sense of dread. Left alone, trapped moisture turns into a musty smell within 24 to 48 hours. Mold can follow shortly after, especially in warm, humid climates.
Manufacturer specifications for automotive upholstery show that open-cell seat foam can hold several times its weight in water. Without active airflow, that foam may stay damp for days. The good news?
You can fix this with the right steps and a little patience. Let's start with an honest self-check.
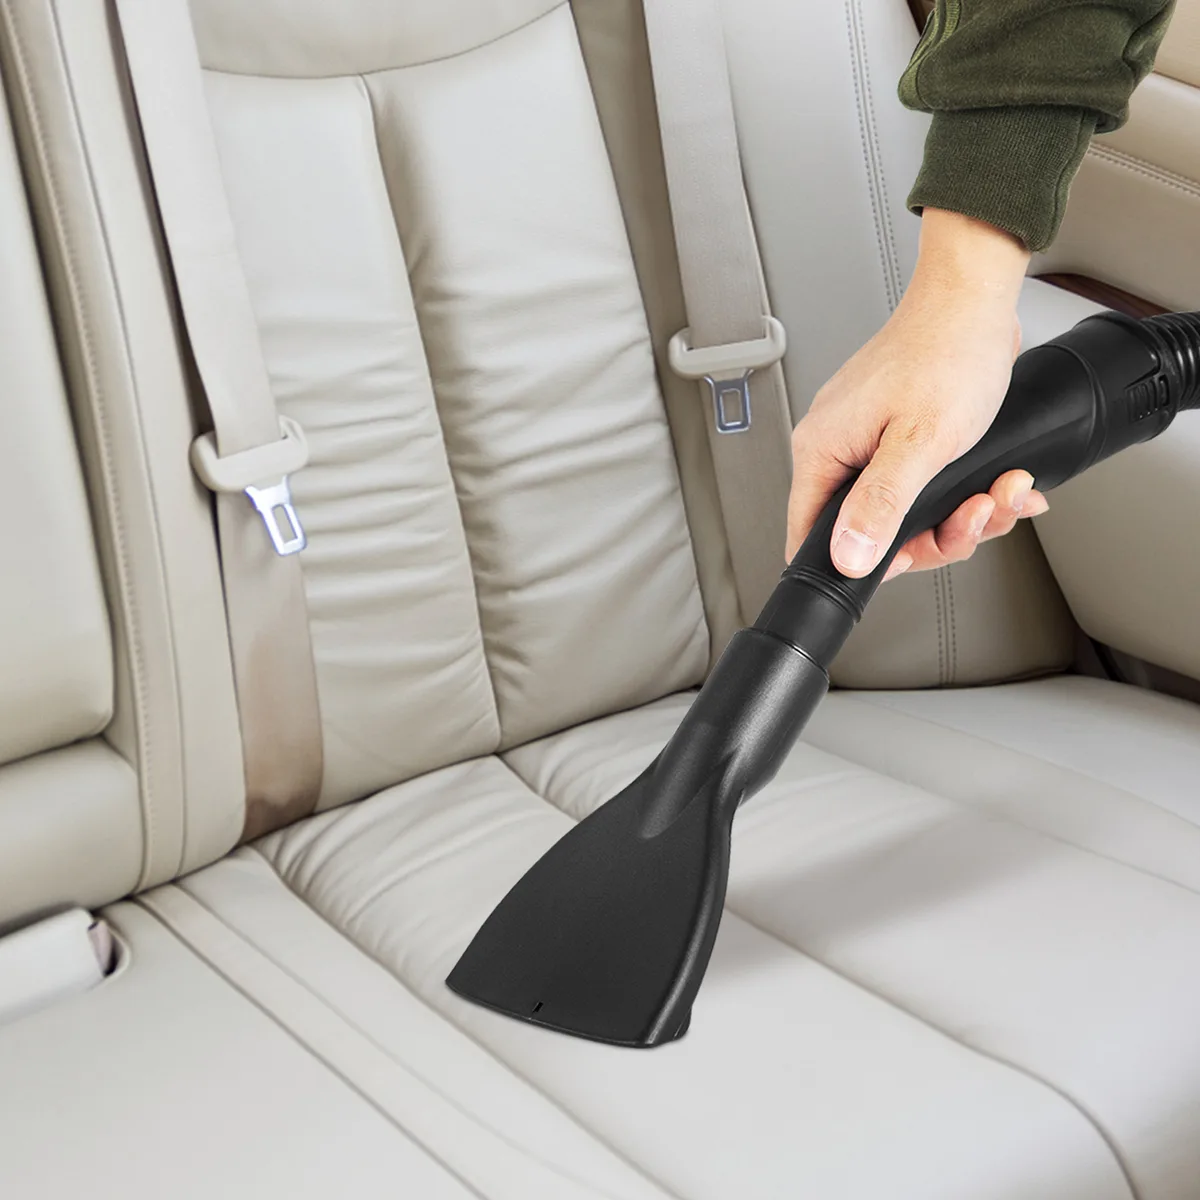
Image source: Bing (Web (fair-use with source credit))
Quick Answer
To dry wet car seats, extract water with a shop vacuum. Then add strong airflow for 12 to 72 hours. Never use heat.
Always check the foam, not just the fabric. For leather, wipe and condition instead.
First: How Wet Is the Seat, Really?
Before you grab any tools, figure out what you're dealing with. The drying process is completely different for a damp surface versus a waterlogged foam core. Most factory seats, as of 2026, still use open-cell foam that soaks up water like a sponge.
Here's the three-step check we recommend.
The Palm Press
Press the flat of your palm firmly into the seat for five seconds. Pull away. If your hand feels cool or slightly damp, moisture is sitting in the upper layers of the fabric.
The Towel Test
Fold a dry microfiber towel in half and sit on it for two to three minutes. No need to squirm. If the towel feels damp when you stand up, the seat is wet beyond the surface.
The Thumb Squeeze
Press your thumb deep into the cushion and release. If water beads up around your thumbprint or you hear a faint squelch, the foam is holding serious moisture. That's a soaked seat.
What Each Level Means
| Condition | What you'll notice | Drying approach |
|---|---|---|
| Surface damp | Fabric feels cool, towel picks up light moisture | Fast air-dry route |
| Soaked cloth | Towel damp, thumb squeeze shows beading | Extraction route |
| Waterlogged foam | Squelch sound, visible water, heavy seat | Remove + extract + dehumidify |
The Decision Tree: Choose Your Drying Path Based on Your Situation
This is where you pick your route. The right method depends on how wet the seat is, what material it's made of, and where you can dry it. Here's the breakdown.
Branch 1: Surface Damp + Sunny Weather
If the seat feels cool but nothing soaks through a towel, you're in luck. Park in the sun, roll the windows down a crack, and let airflow do the work. This is the 30-minute fix.
Branch 2: Soaked Cloth + Time to Wait
Heavy spills need extraction. A wet/dry vacuum or a portable extractor will pull water out of the foam. Then set up fans and let the seat sit for 24 to 72 hours.
This is the most common route.
Branch 3: Soaked Foam + Access to the Seat Bolts
If water has fully saturated the cushion, the smart move is removing the seat from the car. That lets you reach every side of the foam and dry it evenly. More on this in the soaked-seat section.
Branch 4: Leather or Vinyl
Leather and vinyl rarely absorb water like cloth does. Water beads on the surface or seeps into seams. You'll skip extraction and use a wipe-and-condition approach instead.
Branch 5: Musty Smell Already Present
If you catch a sour odor, you're no longer just drying. You're cleaning. This route requires an enzyme cleaner or a mild upholstery shampoo to kill the odor source before drying.
How to Dry a Surface-Damp Cloth Seat (30 Minutes or Less)
For light moisture, you don't need to rip the car apart. Here's the fast process.
Step 1: Blot, Don't Rub
Take a clean microfiber towel and press it into the wet area. Let the towel absorb as much water as it can. Rubbing pushes water deeper into the foam.
Step 2: Go Over It With a Wet/Dry Vac
If you have a shop vacuum, use it. Fit the upholstery nozzle or a crevice tool and go over the damp area slowly. The suction pulls moisture from the fabric surface.
Step 3: Circulate Air
Crack the windows, run the car's HVAC fan on high with the heat off, or point a box fan into the open door. Thirty minutes of airflow is usually enough for surface moisture.
When This Route Works
- Small drink spills
- Rain that got through a cracked window
- Sweaty kids after sports practice
When It Doesn't
If the towel test comes back wet, or the cushion squelches, you're in the next category.
How to Dry a Soaked Seat, Down to the Foam (24 to 72 Hours)
This is the serious route. It works for big spills, flood damage, and anything that left the foam visibly wet.
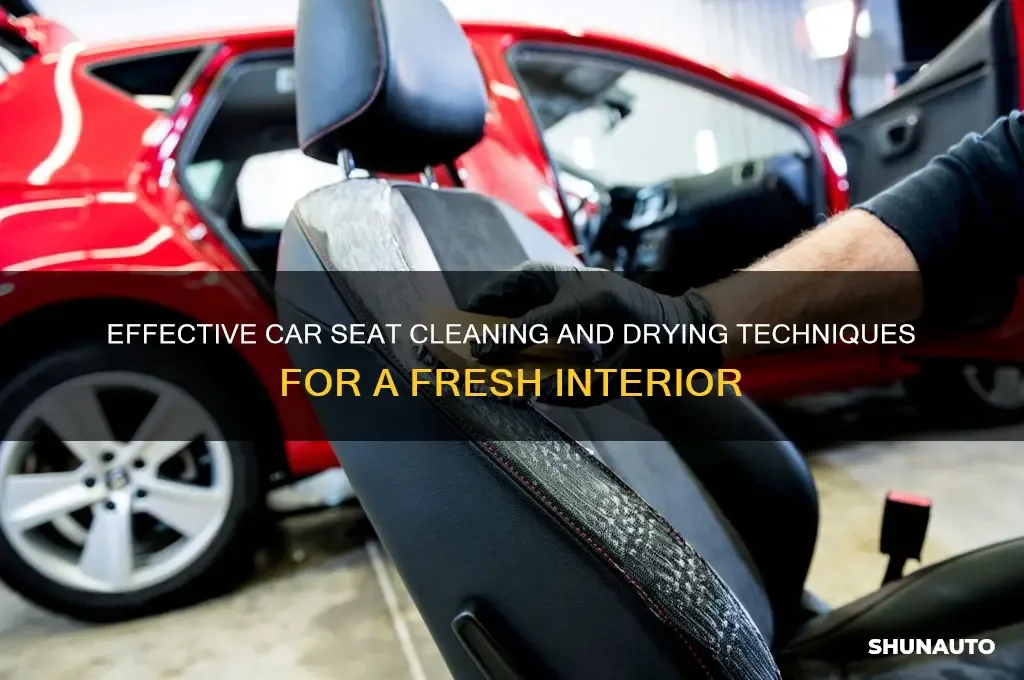
Image source: Bing (Web (fair-use with source credit))
Step 1: Decide Whether to Remove the Seat
Removing the seat makes drying dramatically faster. You get airflow to all six sides of the cushion. But it's not always necessary.
If the spill is contained and you have good airflow, you can dry in place. For heavy saturation or any electrical concerns, unbolt the seat.
Here's how to do it safely:
- Disconnect the negative battery terminal first. The airbag wiring under the seat can be live even with the car off.
- Use the right socket size, usually 14mm or 16mm for seat bolts.
- Keep track of all bolts and washers.
Per NHTSA guidance, always disconnect the battery before working near airbag components. When reinstalling, remember that the middle of the back seat is often the second safest position in a crash.
Step 2: Extract Water From the Cushion
You're not just drying the surface. You're pulling water out of the foam. A wet/dry vacuum is the minimum.
A carpet extractor is better because it sprays a little water and immediately sucks it back out. This repeated rinse-and-extract works wonders.
Work in sections. Go over each section five or six times. Watch the fabric get brighter with each pass.
Step 3: Set Up Your Drying Station
You need two things: airflow and low humidity.
- Position a high-velocity fan so it blows directly across the seat surface.
- Add a second fan underneath the seat if you can.
- Run a dehumidifier in the garage to pull moisture out of the air.
- Keep windows or doors cracked if the weather is dry.
Step 4: Check the Foam, Not Just the Fabric
The surface fabric can feel dry while the foam underneath stays soaked. Here's how to check:
- Feel for cold spots. Foam that's still wet will feel noticeably cooler.
- Press your thumb into the cushion and hold for 10 seconds. If moisture rises around your thumb, it's not ready.
- Use a moisture meter if you have one. Look for readings under 15% on the general scale.
Step 5: Wait, Then Wait Longer
Most soaked seats need at least 24 hours of active airflow. Heavily saturated foam can take 48 to 72 hours. Run the fans continuously.
Flip the seat upside down halfway through if you removed it.
Mold Prevention
The main risk with a soaked seat is mold. Mold can start growing within 24 to 48 hours on wet fabric. The EPA's mold guidance recommends moving damp materials to a dry, ventilated area as fast as possible.
If a musty smell appears before the seat is fully dry, treat it with an enzyme cleaner aimed at the odor source.
If you're drying a child's car seat rather than a vehicle seat, check the manufacturer's guidance carefully. Many brands state that a seat submerged in water must be replaced, not dried. This goes double if it's been in a flood.
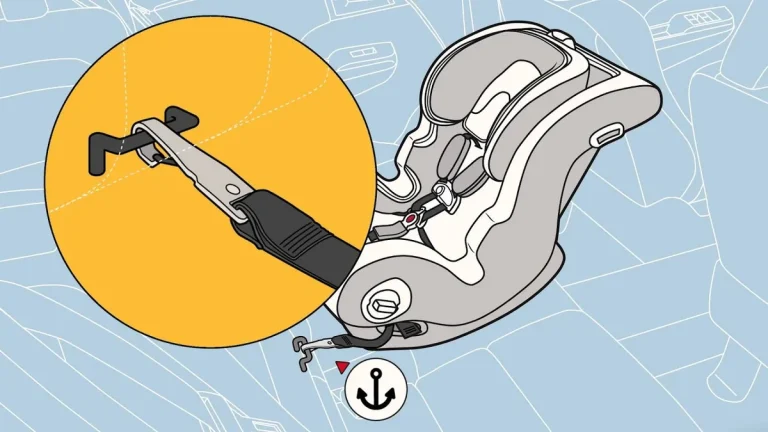
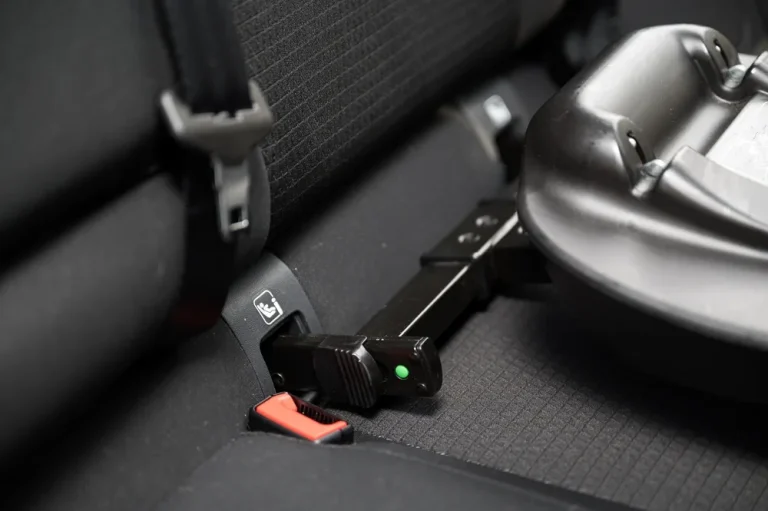
Water can weaken the plastic shell and webbing in ways a visual inspection won't catch. Check the car seat expiration guidance for more on when a seat is no longer safe. Once everything is dry, make sure it's securely anchored before your next drive.
Leather and Vinyl Seats: A Completely Different Drying Approach
Leather and vinyl are much less absorbent than cloth. Water pools on the surface or sneaks into the seams between panels. That means the drying process is faster, but the damage risk is higher.
Step 1: Wipe Up Standing Water Immediately
Use a soft, dry microfiber towel and gently press the water out. Don't wipe aggressively. That can scratch the finish or push water into stitching.
Step 2: Dry the Seams Gently
The stitching and perforations are where water hides. Use a clean towel twisted into a point, or a cotton swab, to wick moisture out of the stitch lines. A small fan blowing across the seat speeds this up.
Step 3: Skip the Heat
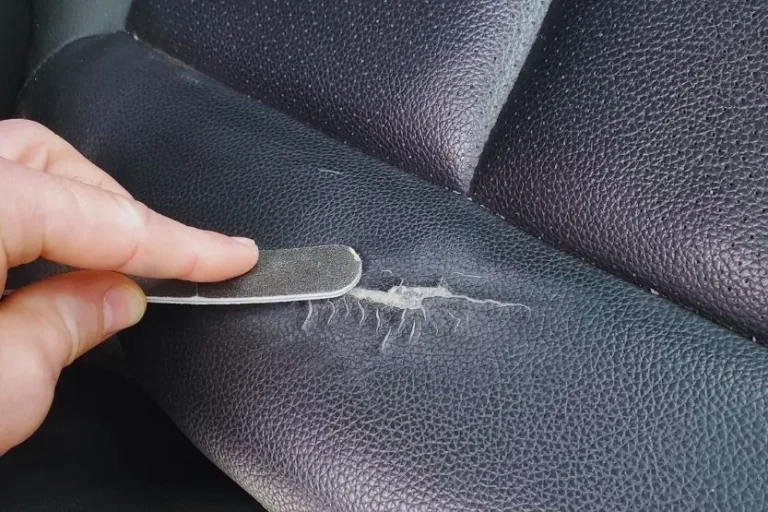
Never use a hair dryer, heat gun, or seat warmer on leather. High heat can warp the hide and cause cracking that won't show up for weeks. Let a fan do the work instead.
Step 4: Condition After It's Dry
Once the leather is completely dry to the touch, apply a leather conditioner. This replaces oils that water can strip away. A good conditioner keeps the surface supple and prevents cracking down the road.
We've got a guide on choosing a quality leather conditioner if you're not sure which one to buy.
When to Treat It Like Cloth
Suede and Alcantara are exceptions. These materials absorb water like cloth, and they need the same blot-and-extract process. Never apply leather conditioner to suede.
If you're unsure about the material, check the owner's manual or a tag under the seat.
The Fastest Safe Tools: Wet/Dry Vac vs. Extractor vs. Fans
You don't need a garage full of expensive gear to dry a wet seat. But the right tool can cut drying time from days to hours. Here's how the main options stack up.
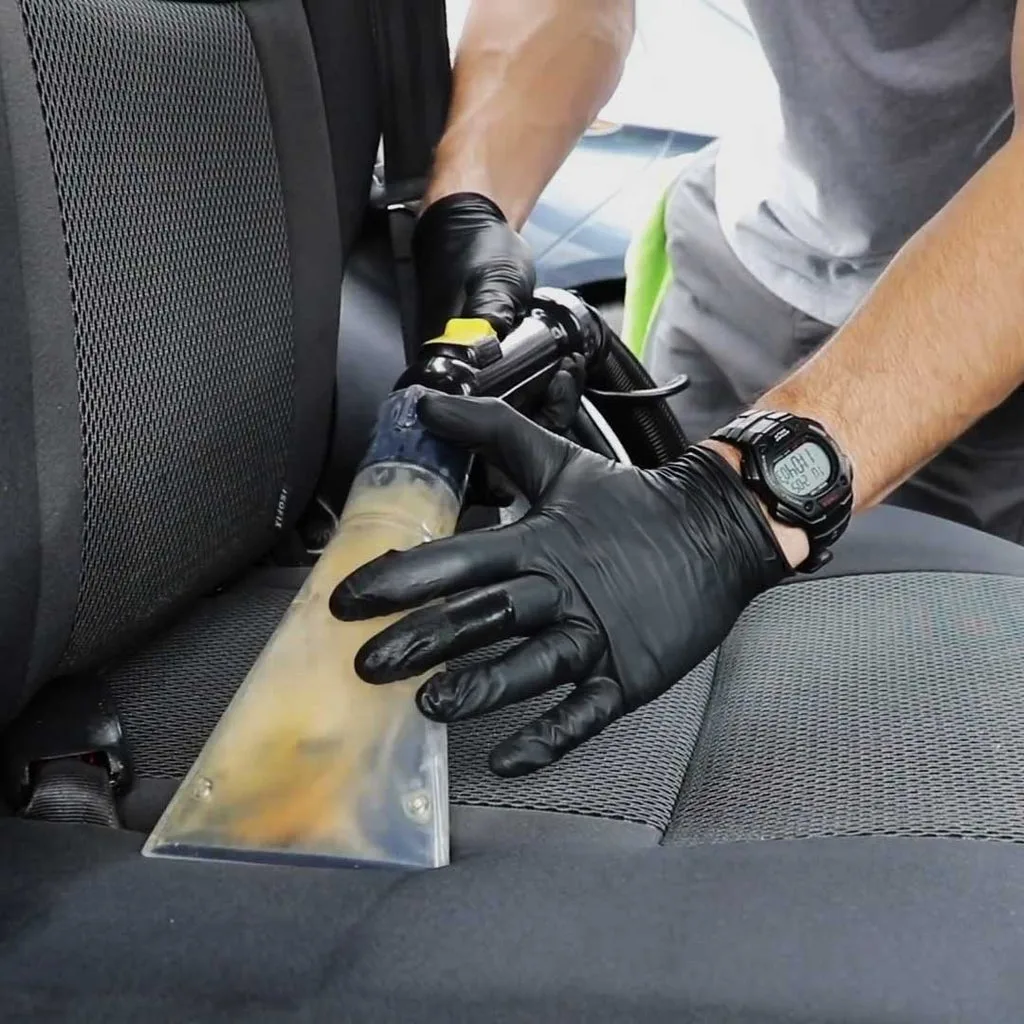
Image source: Bing (Web (fair-use with source credit))
| Tool | What it does | Best for | Skill level |
|---|---|---|---|
| Wet/dry vacuum | Pulls water from fabric and upper foam | Light spills, quick touch-ups | Beginner |
| Carpet extractor | Sprays solution and vacuums it back out | Deep soaks, odor removal | Intermediate |
| High-velocity fan | Circulates air to evaporate remaining moisture | The drying phase, not extraction | Beginner |
| Dehumidifier | Lowers humidity in the surrounding air | Long-drying soaked foam | Beginner |
Wet/Dry Vac: The Minimum You Should Own
A shop vac is the workhorse of car drying. Even a small 5-gallon model creates enough suction to lift surface water. Run the nozzle slowly over the wet area.
Overlap each pass by about half the width of the vacuum head.
Carpet Extractor: Worth It for Pet Owners
An extractor does two jobs at once. It injects warm water into the fabric, then immediately sucks it out with the dirt and moisture. That rinse-and-extract cycle is what actually flushes deep-set odors and grime.
If you regularly deal with kids' messes, it's a worthwhile investment.
Fans: The Finishing Touch
Fans don't remove water directly. They evaporate it. Position a high-velocity fan so air flows across the seat surface and down into the crevices.
For best results, run two fans: one for the seat, one for the floor mats.
Big Mistakes That Keep Seats Wet (or Make It Worse)
A few common errors turn an easy fix into a weekend project. Worse, some can damage your car's electronics or safety systems. Here's what to avoid.
Pressing Down With Bare Towels
Blotting is correct. Pressing hard with a regular towel isn't. The pressure pushes water deeper into the foam, past the point where airflow reaches it.
Use microfiber and press gently.
Using Heat to Speed Things Up
Heat feels like a shortcut. It isn't. A hair dryer or seat warmer set to high can melt foam, warp leather, and damage seat sensors.
As of 2026, most vehicle manuals still warn against any artificial heat on upholstery.
Forgetting the Battery Disconnect
Before you unbolt a seat, disconnect the negative battery terminal. The airbag wiring under the seat stays live even with the car off. Skipping this step can cause accidental deployment during removal.
Ignoring the Foam
The fabric can feel perfectly dry while the foam underneath stays soaked. Always press your thumb into the cushion and hold for ten seconds. If moisture surfaces, keep drying.
Waiting Too Long After the Spill
Mold starts growing on damp fabric within 24 to 48 hours. That musty smell is the first warning sign. The EPA's guidance on mold emphasizes moving wet materials to a ventilated area right away.
Every hour counts.
When You Should Remove the Seat From the Car
Removing the seat isn't necessary for every spill. It's the right call for heavy saturation, floods, or when you need to dry the underside of the cushion. Here's how to decide.
Remove the Seat If:
- The foam is waterlogged and dripping
- The spill was large, like a full gallon of water
- A musty smell appears before drying finishes
- You need to clean under the seat anyway
Keep It in Place If:
- The spill is a small drink or light rain
- The towel test shows only surface moisture
- You have strong airflow and a dehumidifier available
The Removal Process
First, disconnect the negative battery cable. Then locate the seat bolts, usually 14mm or 16mm sockets. Slide the seat back to reach the front bolts first, then the rear ones.
Keep the bolts in a labeled bag.
Once the seat is out, bring it to a ventilated area. Stand it on its side or upside down to let gravity assist. This also gives you access to the seat bottom, where water tends to pool.
Per NHTSA guidelines, check the owner's manual before removing any seat. Torque specs for the bolts matter when reinstalling. Over-tightening can crack the bracket.
Under-tightening creates noise and play.
How Long Drying Really Takes, and How to Confirm It's Dry
Honest timelines matter more than wishful thinking. Most people stop drying too early because the surface feels fine. Here's what the data suggests.
| Condition | Drying time with fans | Drying time with fans + dehumidifier |
|---|---|---|
| Surface damp | 30 to 60 minutes | 30 minutes |
| Soaked cloth, foam intact | 24 to 48 hours | 12 to 24 hours |
| Waterlogged foam | 48 to 72 hours | 24 to 48 hours |
Testing the Foam
The most reliable test is the cold spot method. Feel the seat surface with the back of your hand. Wet foam conducts heat away faster than dry foam, so it always feels cooler.
Compare it to an unaffected part of the same seat.
The Moisture Meter Shortcut
A pin-style moisture meter costs about $20 and removes all guesswork. Press the probes into the fabric at various points. Readings above 15% mean the seat isn't ready.
Under 10% is safe for reinstalling or covering with a seat cover.
The Musty Smell Aftermath: Cleaning and Deodorizing Done Right
If you skipped the quick-dry route and now smell that telltale sour odor, the water has left behind bacteria. Simply drying the seat won't remove the smell. You need to clean it, not just dry it.
Step 1: Extract With an Enzyme Cleaner
Enzyme cleaners break down the organic matter that causes odor. They're ideal for urine, milk, and sweat. Spray the affected area generously, let it sit for ten minutes, then extract with a wet/dry vacuum.
Step 2: Use Baking Soda for Surface Odors
For a mild musty smell, sprinkle a thin layer of baking soda across the seat surface. Let it sit for 30 to 60 minutes. Vacuum it up with a brush attachment.
This works best for light odors on relatively dry seats.
Step 3: Dry Completely, Then Repeat
After cleaning, run the fans again until the seat is fully dry. If the smell returns after 24 hours, the bacteria are still alive. Repeat the enzyme treatment before the odor sets in deep.
Step 4: Address the Source
A lingering odor often means moisture reached the foam backing or the seat cover itself. If the smell persists after two treatments, the cushion foam may need attention. Professional detailers are a valid next step, but a seat pad replacement is sometimes the only permanent fix.
What to Do If Mold or Mildew Is Already Starting
Act fast. Mold spreads quickly and weakens fabric fibers. Mix one part white vinegar with three parts warm water.
Scrub the affected area with a soft brush, then extract with a wet/dry vacuum.
Dry the seat fully in direct sunlight if possible. UV light helps kill lingering spores. If black spots remain after treatment, the padding is compromised.
Professional cleaning or seat replacement is the safer route.
Long-Term Protection: Keeping Seats Dry (or Easier to Dry) Next Time
Prevention beats cleanup every time. Apply a fabric protectant to cloth seats to create a water-resistant barrier. Reapply every six months or after hot-water extraction.
Seat covers are the simplest insurance for families with kids and pets. Waterproof covers catch spills before they reach the foam. If you're dealing with a car seat, remember that moisture can hide in webbing you can't see.
Quick Answers to Common Drying Questions
Can I drive with wet seats to speed up drying?
Driving with the heat off and windows cracked can help mild dampness. It won't dry a soaked foam cushion. The lack of air circulation under the seat actually slows things down.
Will a shop vac pull water out of a seat?
Yes, but only from the upper layers. A wet/dry vacuum removes surface water efficiently. It can't reach deep into the foam without repeated passes.
How do I dry under the seat without disconnecting the battery?
Use a fan and avoid spraying water near wiring. If the seat is soaked, make the effort to disconnect the battery. It's the only safe way.
Frequently Asked Questions
How long does a car seat take to dry?
Surface dampness takes 30 to 60 minutes with airflow. A soaked seat takes 24 to 72 hours. Check the foam before you trust the fabric.
Can I use a hair dryer on wet car seats?
No. Heat can melt foam and damage seat sensors. Stick to fans and dehumidifiers.
Does baking soda help dry wet seats?
No. Baking soda absorbs surface odor, not water. Use it after drying to freshen, never as a drying aid.
Final Decision Guide
Start with the towel test. If the seat is damp, use fans. If it's soaked, extract and wait.
If you smell mustiness, clean before drying. And if mold appears, stop drying and start treating. That sequence covers every wet seat scenario.