
Guide to What Is a Faa Approved Car Seat
You’re standing in your living room, diaper bag packed, staring at the car seat, and wondering if you can actually bring it on the plane. It’s a fair question. Airlines have their own rules, the FAA has its own rules, and your car seat has its own labels.
Figuring out what is a faa approved car seat versus one that’s just for the car can feel like decoding a secret language.
The good news? It’s simpler than it looks. Under FAA regulations, a car seat is approved for aircraft use when it carries a specific certification label stating it’s been tested for both motor vehicles and airplanes.
That label, not the brand, not the price, not how “safe” it feels, is the single thing that determines whether you’ll be buckling your toddler into that seat at 30,000 feet or handing it to a gate agent. Let’s break down exactly what to look for, how to install it, and when to skip the whole thing.
Quick Answer
An FAA approved car seat is a child restraint with a label stating it’s certified for use in both motor vehicles and aircraft. That label must be permanently attached to the seat. Without it, US airlines can refuse to let you use the seat on board.
Children under 40 pounds typically need a harnessed seat. Children over 40 pounds cannot use a booster on a plane.
The Label Is Everything: Finding and Reading the FAA Certification Sticker
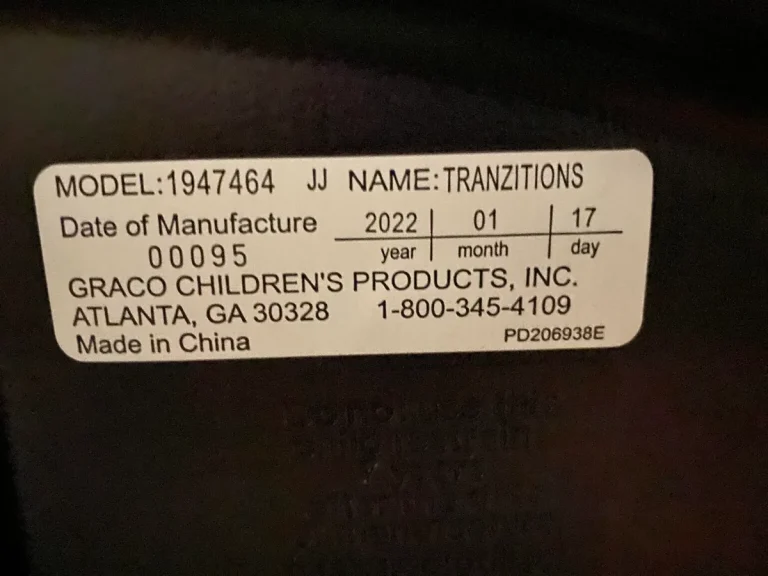
The entire game revolves around one tiny piece of fabric or plastic. Federal Aviation Regulation 14 CFR Part 121.311 requires that any child restraint device used on a US commercial flight be approved by the FAA. The approval process involves crash testing the seat in simulated aircraft seat configurations, not just car crash scenarios.
Where to look for the label:
- On the side of the seat base. This is the most common spot. Check near the recline adjuster or the harness release button.
- On the bottom of the seat. Flip the seat over and look for a white or silver sticker.
- Under the fabric padding. Some manufacturers hide the label beneath the removable cover near the crotch strap area.
What the exact wording must say:
“This restraint is certified for use in motor vehicles and aircraft.”
That’s it. If the label says anything less, like just “certified for motor vehicles,” then the seat hasn’t passed FAA testing. Some seats are certified for cars but not for planes, typically because the manufacturer didn’t want to pay for the additional testing.
There’s no visual difference between the two, which is exactly why the label matters.
What happens if the label is worn or missing?
The crew has the final say. If they can’t read the wording, they can legally refuse the seat. Even if you know the seat is fine, the gate agent doesn’t.
Most airlines will then require you to gate-check the seat instead. Some families solve this by taking a photo of the label before flying as backup, though crew members can still ask to see the physical label. As of 2026, the FAA hasn’t changed this requirement, so keeping that sticker intact matters.
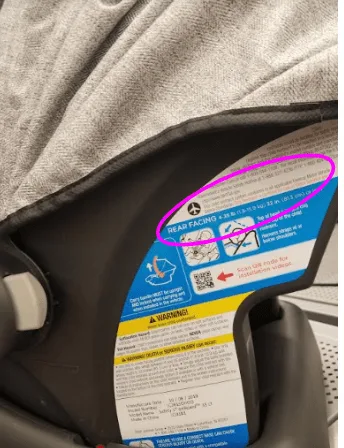
Image source: Web (Bing) / mymomsanerd.com (Web image (fair-use with source credit))
The Weight Rule That Changes Everything: Under 20 lbs vs. Over 20 lbs
Here’s where things branch off. The FAA doesn’t just care about the label; they care about how your child sits in the seat. The decision tree splits based on your child’s weight, and getting this wrong means the seat might not fit in the plane seat properly.
Under 20 pounds: Rear-facing only.
If your infant weighs under 20 pounds, the car seat must be installed rear-facing on the aircraft. That’s non-negotiable. The seat faces the back of the plane, just like it faces the back of the car.
Some parents wonder if they can turn the seat around to face them for easier feeding. You can’t. The seat must stay rear-facing until your child hits that 20-pound mark.
20 to 40 pounds: Forward-facing is allowed.
Once your child crosses 20 pounds, you can legally flip the seat forward-facing. But here’s the catch. You also need to check your specific seat’s manual.
Some seats have a minimum forward-facing weight of 22 pounds. Others require the child to be at least 1 year old regardless of weight. Always confirm both the weight and age requirements from the manufacturer’s documentation before switching.
Over 40 pounds: The harness limit.
Most car seats cap their harnessed weight limit at 40 pounds. That means if your preschooler weighs more than that, they can’t sit in the car seat harness on the plane. The seatbelt on the airplane won’t secure the car seat properly without a harnessed child inside.
So what do you do? That’s where the CARES harness or just the regular airplane seatbelt comes in.
The weight thresholds also affect how the seat fits in the aircraft seat itself. A rear-facing infant seat takes up more legroom for the passenger in front of you. A forward-facing convertible seat needs the aircraft seatbelt to route through a specific belt path.
If your child is close to a weight threshold, double-check which side of the line they fall on before you pack.
Boosters, Travel Vests, and the CARES Harness: What the FAA Actually Allows
This is where most families get tripped up. They assume that if a restraint works for the car, it works for the plane. That’s not always true.
Booster seats are never allowed on planes.
No exceptions. The FAA explicitly prohibits booster seats because they don’t have a harness. A booster relies on the vehicle’s seatbelt to restrain the child, and the aircraft lap belt doesn’t function the same way.
Even if your child is within the booster’s height and weight range, you can’t use it on a plane. You’ll need to check it or leave it at home.
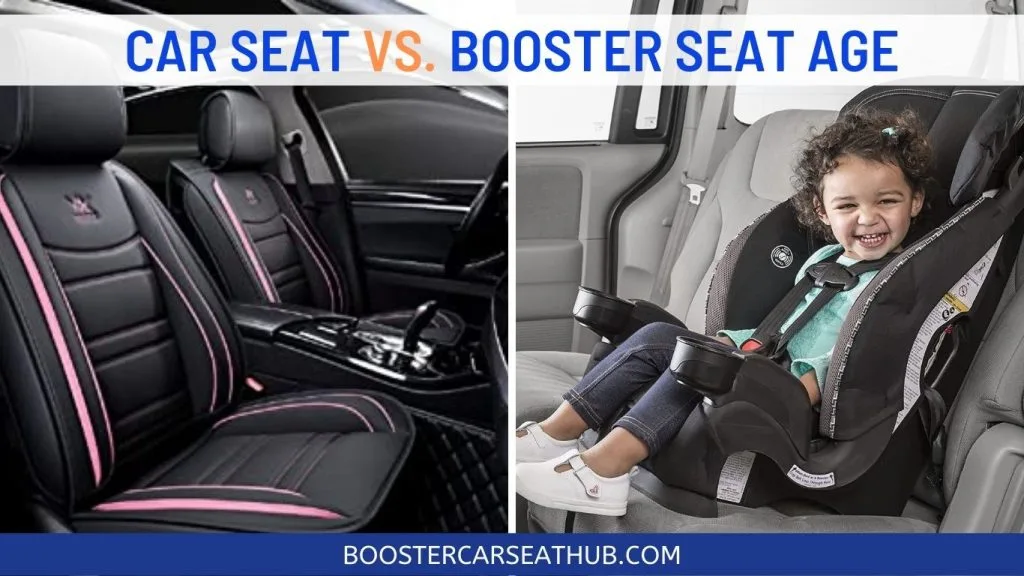
Image source: Bing (Web (fair-use with source credit))
The CARES harness is the workaround.
The CARES device (Child Aviation Restraint System) is a lightweight harness that attaches directly to the airplane seat, no car seat needed. It’s FAA approved for children weighing between 22 and 44 pounds. The harness wraps around the back of the aircraft seat and buckles like a five-point harness.
It weighs about a pound, folds into a small pouch, and is much easier to carry through an airport than a car seat. However, it’s not approved for use in cars, so you’ll still need a car seat at your destination.
Travel vests are a gray area.
Some travel vests, like the RideSafer brand, are approved for cars but don’t meet FAA standards. Unless the vest has a label explicitly stating it’s certified for use in motor vehicles and aircraft, the crew can refuse it. Most of these vests don’t have that label.
European seats and international rules.
If you’re flying with an EU-approved car seat (ECE R44/04 or R129 i-Size), it likely doesn’t have the English FAA wording. US airlines will typically treat it like an unapproved seat. International carriers may have different rules, so check with the specific airline before you fly.
How to Install a Car Seat on an Airplane: Step-by-Step Workflow
Installing a car seat on a plane is similar to installing it in a car, but there are a few key differences. The aircraft seatbelt is shorter and doesn’t have a locking retractor, so you’ll need to use the seatbelt’s latchplate to secure it.
Step 1: Choose your seat location.
Always pick a window seat. FAA regulations generally require car seats to be installed in window seats so they don’t block the aisle during an emergency evacuation. You can’t install a car seat in an aisle seat or an exit row.
Step 2: Place the car seat on the aircraft seat.
If your child is rear-facing, place the seat with its back against the aircraft seat back. If forward-facing, the seat faces the seat in front of you.
Step 3: Route the aircraft lap belt.
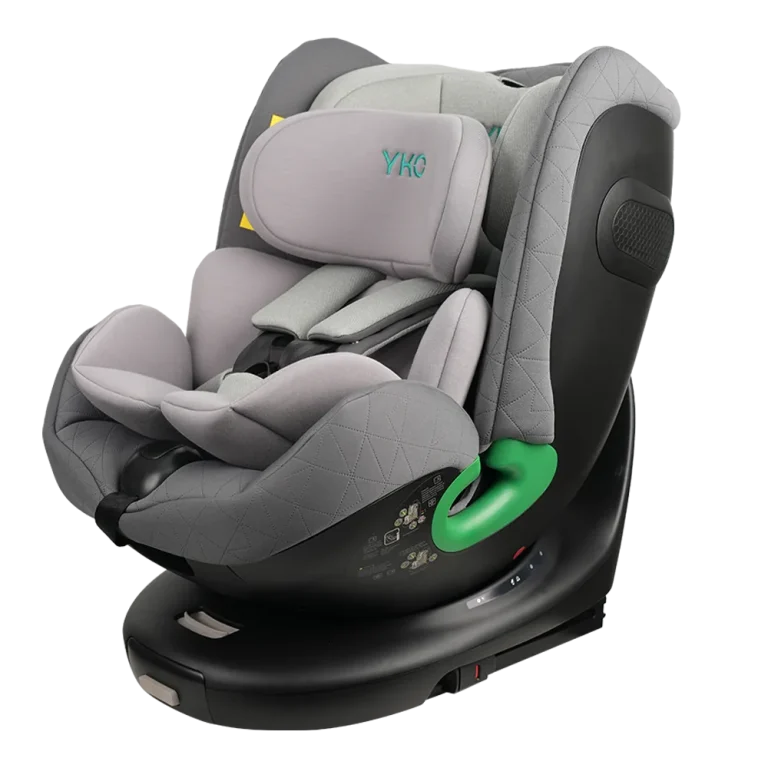
Find the belt path on your car seat. This is the channel where the seatbelt feeds through. On most convertible seats, there’s a distinct path for the lap belt when used in a car.
The same path works on the plane. The aircraft seatbelt needs to go through that path, not over it.
Step 4: Buckle and tighten.
Buckle the aircraft seatbelt, then pull the loose end to tighten. Aircraft seatbelts are shorter than car seatbelts, so you might struggle to get enough length. If the belt won’t reach, ask the flight attendant for a seatbelt extender before you start.
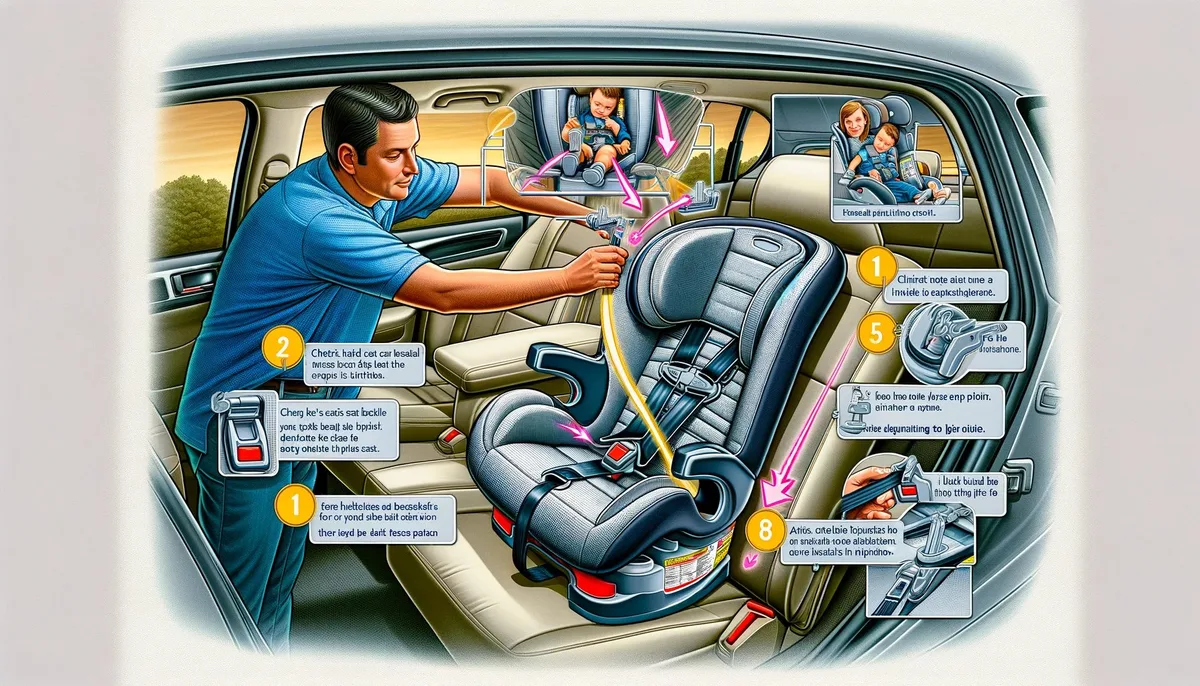
Image source: Web (Bing) / consumerauto.us (Web image (fair-use with source credit))
Step 5: Test for snugness.
The car seat should not move more than one inch side-to-side or front-to-back at the belt path. Grab the seat near the belt path and give it a firm shake. If it moves more than an inch, tighten the lap belt further.
Step 6: Secure your child.
Once the seat is tight, buckle your child in using the car seat’s harness. Adjust the harness straps so they’re snug against your child’s shoulders. On a plane, the seat is more upright than in a car, so your child’s head might flop forward if they fall asleep.
A rolled-up blanket or nursing pillow placed under the seat base can help with recline, but only if the car seat manual allows it.
Step 7: Recheck mid-flight.
Lap belts loosen as the plane vibrates and shifts. Re-tighten the seatbelt every hour or so, especially after takeoff and landing. Turbulence can also shift the seat, so a quick check after any bumpy stretch is a good habit.

One Comment