When Do You Turn Infant Car Seat Forward for Baby?
You’ve probably heard the old rule about turning your baby’s car seat forward at their first birthday. Maybe a well-meaning relative has already told you your toddler’s legs look too cramped. Here’s the reality: the answer to “when do you turn infant car seat forward” is almost always later than you think.
Keeping your child rear-facing longer is the single biggest safety upgrade you can make.
The American Academy of Pediatrics has recommended keeping kids rear-facing to the maximum height or weight limit of their car seat since 2018. For most convertible seats, that now means age 2 to 4, sometimes longer. Modern crash data shows a rear-facing child is about 500% safer than a forward-facing one in a front-end collision.
Let’s walk through exactly when you should make that switch, why the old advice changed, and how to know your child has genuinely outgrown their seat.
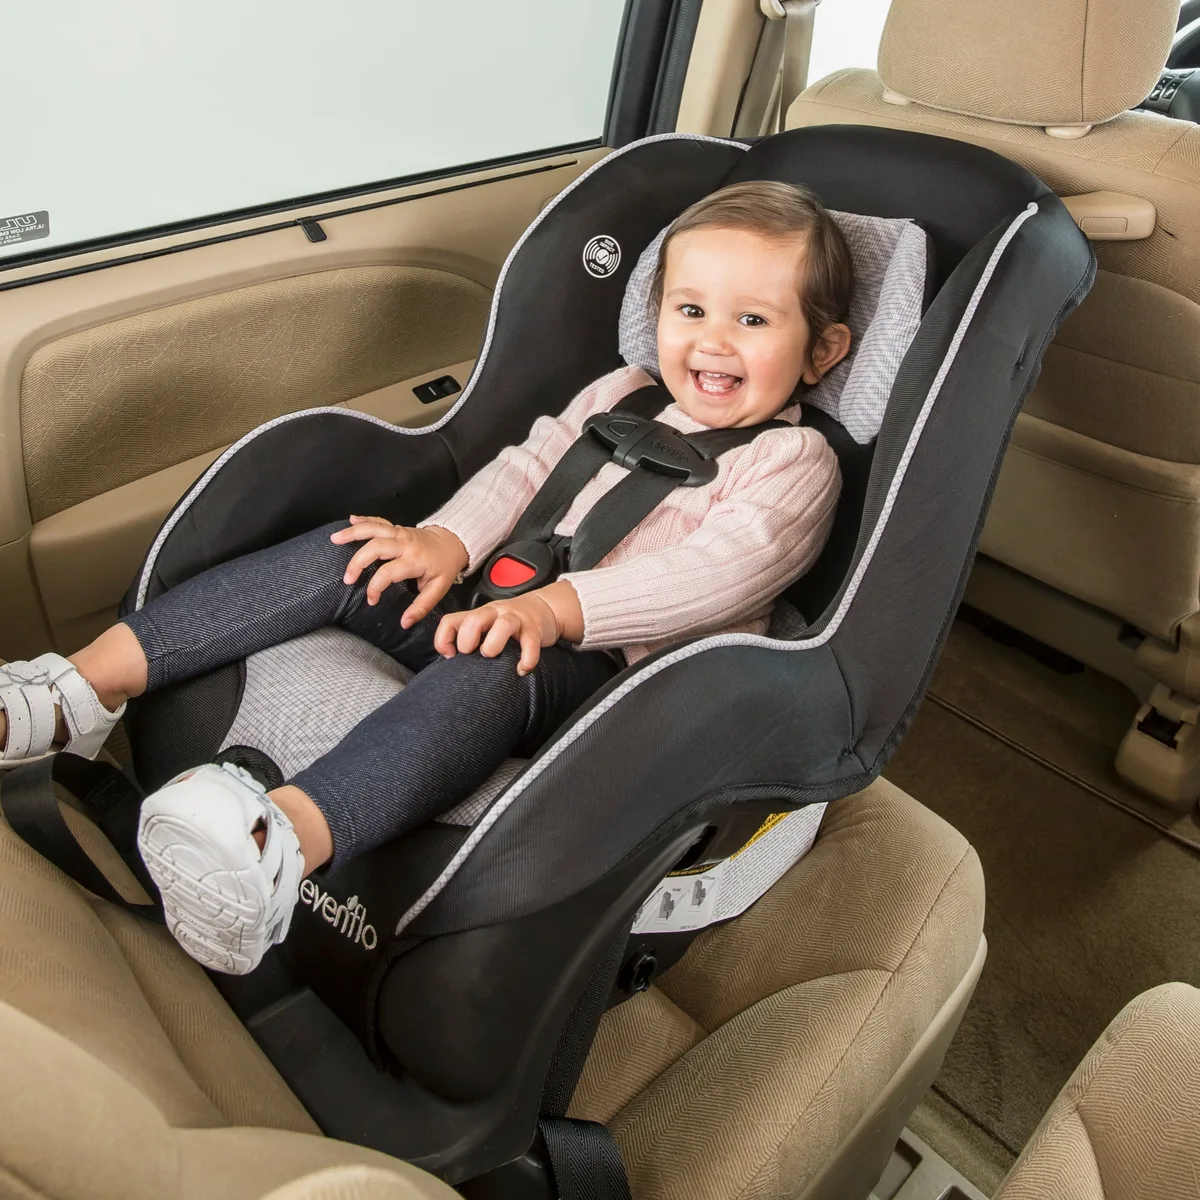
Image source: Bing (Web (fair-use with source credit))
Quick Answer
Turn your infant car seat forward only when your child reaches the seat’s maximum rear-facing height or weight limit. Never flip before age 2. Most kids stay rear-facing until age 3 or 4.
The legal minimum in most US states is 1 year and 20 pounds. That is not the safety recommendation. The AAP says keep them rear-facing as long as possible.
Check the sticker on your specific seat for its exact limits.
Why This Decision Matters More Than You Think
A toddler’s spine is not a tiny adult spine. Their vertebrae are still mostly cartilage until around age 3 to 6. The bones haven’t fully ossified, or hardened, into the protective structure adults have.
Even more important, the spinal cord has room to stretch inside the column, which means it can stretch dangerously far during a crash.
When a child rides rear-facing, the crash forces spread across the entire shell of the car seat. The seat absorbs the impact and cradles the child’s head, neck, and spine in one straight line. That’s exactly what a doctor would design if they wanted maximum protection for an immature skeleton.
Flip them forward too soon and the harness holds the torso while the head whips forward. That’s called internal deceleration. For a child with unossified vertebrae and a stretchable spinal cord, the result can be catastrophic.
Research shows this pattern is exactly what causes severe spinal injuries in forward-facing toddlers.
The trade-off is real. You’ll deal with awkward loading, complaints about cramped legs, and a harder time seeing your child in the mirror. But those inconveniences are nothing compared to the neurological outcome of a preventable spinal injury.
What the Crash Data Actually Shows
| Crash Direction | Rear-Facing Injury Risk | Forward-Facing Injury Risk |
|---|---|---|
| Frontal collision | Forces spread across seat shell | Head whips forward, neck absorbs force |
| Side impact | Head contained by shell and wings | Head rotates beyond the harness line |
| Rear impact | Protective shell absorbs force | Less shell protection, more rebound |
The numbers from field studies are stark. A 2015 study in the journal Injury Prevention analyzed real-world crashes and found that children under age 2 were 75% less likely to be seriously injured or killed when riding rear-facing compared to forward-facing. That’s a four-fold difference.
The Science of Rear-Facing: What’s Happening Inside the Seat
When you brake hard at 30 mph, your body keeps moving forward at 30 mph until the seatbelt stops it. The same physics applies to a child in a car seat. The key difference is where that energy goes.
In a rear-facing seat, the child’s entire back and head press into the shell. The seat spreads that force across the largest possible surface area. The head, neck, and spine stay in their natural anatomical alignment.
The child is essentially “riding the crash down” like a passenger in a train car absorbing momentum.
In a forward-facing seat, the harness stops the torso and pelvis. The head keeps moving. For a toddler whose neck muscles are still developing, that motion can stretch the spinal cord beyond its breaking point.
At high speeds, the ligamentous structures between vertebrae can tear even without a broken bone.
The Ossification Timeline
- At birth, the cervical spine is made of three separate bony centers per vertebra, connected by cartilage.
- These centers begin to fuse around age 2 to 3, but the process continues.
- The ring-shaped bone structure is not complete until roughly age 4 to 6.
- Until that ring closes, the vertebrae are structurally weaker and more prone to displacement.
This is why Swedish researchers have advocated rear-facing to age 4 or 5 for decades. Swedish parents routinely keep their kids rear-facing until they physically cannot fit anymore. Their national crash statistics reflect this approach, with dramatically lower rates of spinal trauma in young children.
The practical takeaway is simple. Even if your child meets the legal age and weight minimums, their skeleton is still years away from being crash-ready. Every extra month rear-facing is a month of dramatically reduced risk.
Why “Legs Touching the Back Seat” Is a Non-Issue
Parents worry their child is uncomfortable because their legs are bent against the vehicle seat. Kids don’t care. They naturally sit cross-legged, kneel, or rest their feet on the seat back.
There is no evidence that rear-facing leg positioning causes orthopedic problems. In fact, forward-facing legs dangle unsupported, which is arguably less comfortable.
Children who ride rear-facing past age 2 learn to fold their legs. They sit like little frogs, and they’re completely content. If your toddler complains about leg cramps, it’s almost always about general restlessness, not an actual safety issue.
The 3 Hard Rules for Knowing When to Flip
There are exactly three ways a child outgrows a rear-facing seat. You flip the seat forward when any one of these happens. Not before.
Rule 1: Exceeding the Weight Limit
Every seat has a maximum rear-facing weight printed on its label. Common limits are 30, 35, 40, or 50 pounds, depending on the model and brand. Once your child hits that number, the seat cannot legally or safely be used rear-facing anymore.
Most convertible seats designed for extended rear-facing go up to 40 or 50 pounds. That usually covers an average child until age 4 or 5. Check your specific seat’s label, because the number varies.
Never assume, regardless of how similar two seats look.
Rule 2: Exceeding the Height Limit
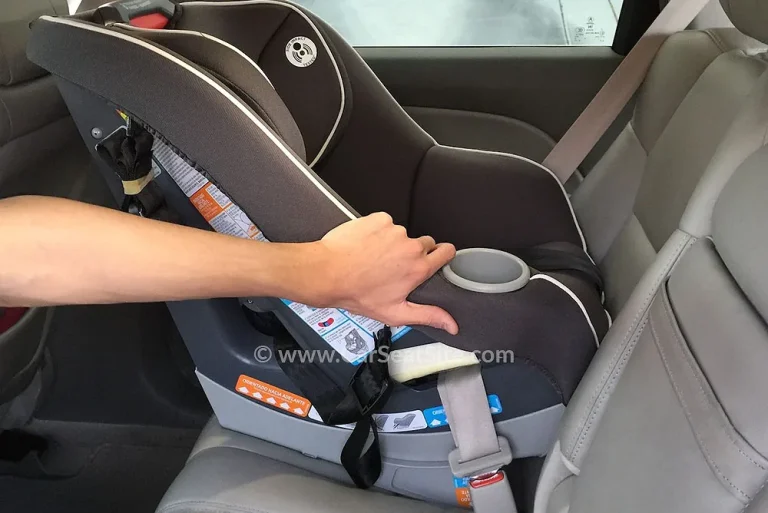
Height limits are less obvious. The rule is straightforward: there must be at least 1 inch of hard shell above your child’s head. If the top of their head is level with or above the top of the shell, they have outgrown the seat rear-facing.
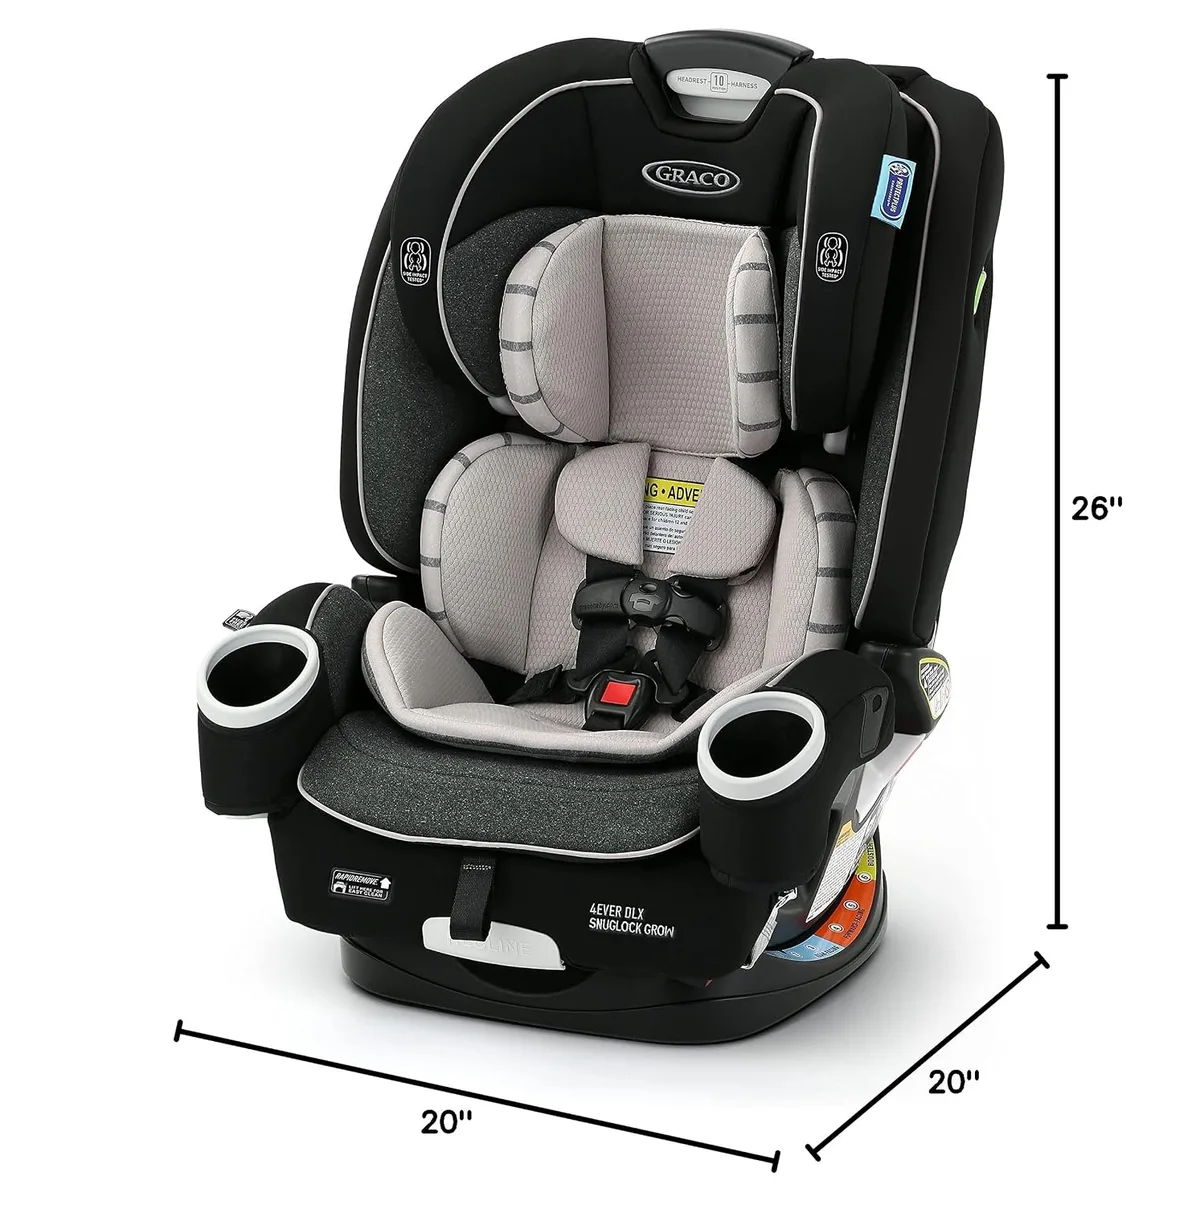
Image source: Bing (Web (fair-use with source credit))
This is the limit that catches most parents off guard. Children tend to outgrow seats by height before weight, especially taller toddlers. A child who is 2.5 years old and 38 inches tall can easily exceed the height limit on a seat with a 35-inch maximum.
The height limit exists because the shell provides head containment and energy absorption. If the head extends above the shell, it’s unprotected and can hit the vehicle’s interior or strike the seat shell itself during a crash.
Rule 3: The Harness Slot Positions
For rear-facing, the harness straps must come from slots at or below the child’s shoulders. Once the straps are coming from above the shoulders, the harness can’t hold the child securely in place. This usually coincides with the height limit but is worth checking separately.
For forward-facing, the harness straps must be at or above the shoulders. The chest clip goes at armpit level in both orientations. These are non-negotiables for proper restraint.
How to Read the Limits
| Seat Type | Typical Rear-Facing Weight | Typical Rear-Facing Height |
|---|---|---|
| Infant bucket seat | 30 to 35 lbs | Top of head within 1 inch of shell top |
| Convertible seat (standard) | 35 to 40 lbs | 1 inch of head clearance |
| Convertible seat (extended) | 40 to 50 lbs | 49 inches or less |
| All-in-one seat | 40 to 50 lbs | Check individual label |
The bottom line is this. You don’t flip because of age alone. You flip because one of these three physical limits has been reached.
If your child is 3 years old, 28 pounds, and still has 3 inches of shell above their head, they stay rear-facing.
Step-by-Step: How to Check If Your Child Still Fits Rear-Facing
This takes about two minutes in your driveway. Grab the car seat manual and your vehicle manual, then follow these steps in order.
Step 1: Find the Weight Label
The sticker is usually on the side of the seat near the harness adjuster. It lists the maximum rear-facing and forward-facing weights, plus the height limits and the seat’s expiry date. Write these numbers down.
If the label is worn or unreadable, contact the manufacturer with the model number to get the specs.
Step 2: Measure the Head Clearance
Have your child sit normally in the seat, buckled and snug. Look at the top of the shell behind their head. You need at least 1 inch of plastic above the crown of their head.
Use two fingers stacked horizontally as a rough measure. If your fingers don’t fit, they’ve hit the height limit.
Step 3: Check the Harness Slot Direction
For rear-facing, the harness straps need to be threaded through the slots that are at or below the child’s shoulders. If the straps are coming from slots above their shoulders, the harness will pull down on the child during a crash, potentially causing spinal compression. Adjust to the next correct slot or move the seat up.
Step 4: Do the Pinch Test
Buckle your child in normally. Tighten the harness until the straps are snug against the shoulders with no slack. Now try to pinch a fold of webbing at the shoulder between your thumb and forefinger.
If you can pinch any material, the harness is too loose. Tighten the adjuster until you cannot pinch a wrinkle.
Step 5: Confirm the Recline Angle
Convertible seats have a recline range, usually between 30 and 45 degrees, depending on the child’s weight. Newborns need the full recline. Toddlers weighing more than 20 pounds can usually use a more upright angle.
The seat must sit within the acceptable range indicated by built-in level lines. Check your manual for the exact angle.
Step 6: Verify the Installation
Press down firmly on the seat at the belt path with your knee. Pull the seatbelt or LATCH strap to tighten. The seat should not move more than 1 inch side to side or front to back.
If it moves more than that, reinstall or tighten the LATCH webbing at the base.
If you’re unsure about the installation, the local fire station or a certified Child Passenger Safety technician will usually check it for free. Your state’s highway patrol office often has inspection events as well. Our guide on front-facing car seat requirements covers the forward-facing install once you do flip.
The whole check takes less than five minutes and gives you complete clarity. If your child still fits under all three rules, they stay rear-facing. Simple as that.