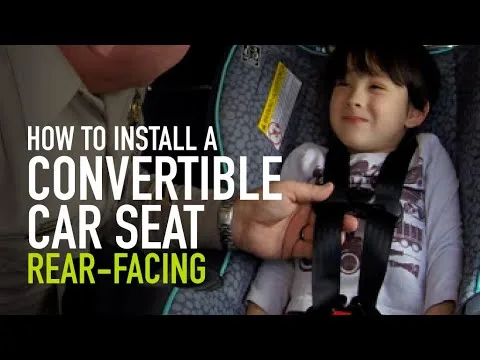
When Switch to Front Facing Car Seat? Safety Tips
You’ve been rear-facing for a while now, and the question is starting to nag at you: when switch to front facing car seat? Maybe your toddler’s legs are pressed against the seat back, or your back hurts from wrestling a squirming child into the harness. Whatever the reason, you’re ready for a change.
But this isn’t a decision to make based on convenience or a birthday.
This is one of the few moments in parenting where the difference between “legal” and “safe” genuinely matters. The stakes are high, but the good news is the answer is simpler than most people think. It’s not about age.
It’s not about how tall your child looks. It’s about the specific numbers printed on the side of your car seat. As of 2026, the American Academy of Pediatrics recommends keeping children rear-facing until they exceed the maximum height or weight limit of their specific seat, which for most convertible models means age three or four.
Before you turn that seat around, let’s walk through exactly what the experts say and why the timing matters more than you might think.
The Danger of Turning Your Child Too Soon
The scariest part of this decision is also the most misunderstood. When a child rides rear-facing, the car seat shell absorbs the crash forces and spreads them across the entire back and head. That’s critical because a toddler’s spine is still mostly cartilage, not bone.
Their vertebrae don’t fully ossify, or harden, until around age three to four. In a frontal crash, which is the most common and most severe type, a forward-facing child’s head snaps forward violently while their body is held back by the harness. That force can cause internal decapitation, where the spinal cord separates from the brain stem.
Rear-facing eliminates that mechanism entirely. The seat cradles the head, neck, and spine against the seat back, and the crash forces travel through the strongest parts of the child’s body. The data backs this up.
Research published in the journal Injury Prevention found that children under age two are 75% less likely to die or be seriously injured in a crash when riding rear-facing compared to forward-facing. That’s not a small difference. That’s the difference between walking away and not.
So why don’t all parents keep their kids rear-facing longer? Because state laws set the minimum at age one and 20 pounds, and most parents assume that’s the recommended standard. It’s not.
Legal minimums are the absolute floor, not a safety target. Federal testing under FMVSS 213 simulates crashes at 30 mph. Real-world crashes happen at highway speeds.
Every inch of protection matters, and rear-facing is the single most effective way to protect a young child’s head and neck.
The other reason parents turn early is discomfort. They see their toddler’s legs bent against the seat and assume it must be painful. But children are flexible in ways adults have long forgotten.
Bent legs are not a safety concern, and it’s not uncomfortable for them. Kids sit cross-legged, kneel, and fold themselves into positions that would send an adult to a chiropractor. They don’t know any different, and they’re perfectly content.
Quick Answer: The Rule That Actually Works
Check the labels on your specific car seat. Turn your child forward-facing only when they exceed the maximum rear-facing height or weight limit printed on that label.
That’s the whole rule.
Most convertible seats allow rear-facing up to 40 to 50 pounds and heights up to 44 to 49 inches. That means most children should stay rear-facing until somewhere between age three and four. Not age one.
Not age two. Age three at the earliest, and often later.
Here’s why this rule beats any age-based guideline: it’s specific to your seat and your child. A small toddler might hit the limits at age three. A tall toddler might hit the height limit at age two and a half.
A heavier child might max out the weight limit before their third birthday. The label doesn’t lie, and it doesn’t care about milestones. It cares about physics.
One more thing to understand: the height limit is about the top of the child’s head, not their legs. The rule is that the child’s head must sit at least one inch below the top of the seat shell. If their head is touching the shell, they’ve outgrown the seat rear-facing, even if the weight limit hasn’t been reached.
Why Rear-Facing Is Safer (Even When Their Legs Look Cramped)
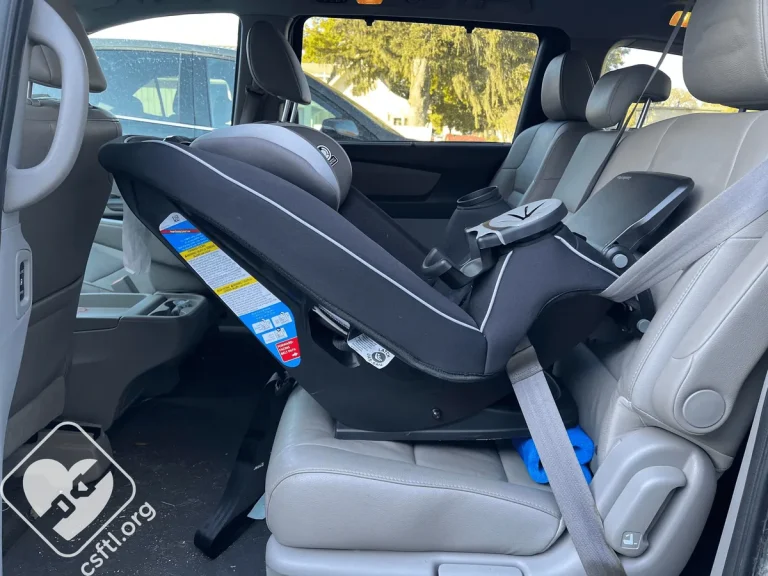
A rear-facing car seat looks restrictive. The child’s legs are bent at the knees, feet pressing against the vehicle seat. It seems uncomfortable, and it’s tempting to turn the seat around just to give them more room.
But here’s what’s actually happening inside that seat during a crash.
In a frontal collision, the rear-facing seat rotates slightly into the vehicle seat, and the crash forces are distributed across the entire back of the seat. The child’s head, neck, and spine stay aligned because the shell takes the impact. In a forward-facing seat, the harness stops the child’s body, but the head keeps moving forward.
That’s called a whiplash effect, and for a child under four, the spine simply hasn’t finished hardening enough to withstand that force.
The ossification timeline matters here. A newborn’s spine is mostly soft cartilage. By age one, it’s about 40% ossified.
By age three, roughly 80%. It’s not until age six that the spine is close to adult strength. That means a two-year-old forward-facing in a crash is putting significant strain on a spine that’s still primarily cartilage.
A four-year-old has a much stronger spine, which is one reason why rear-facing through age three or four is such a critical safety window.
What about the legs? In a rear-facing seat, the child’s legs can press against the vehicle seat, and that’s completely fine. In a crash, the legs might absorb some force, but a broken leg is far better than a broken neck.
Children also naturally find comfortable positions. They bend their knees, tuck their feet, or rest them on the seat back. It doesn’t hurt them, and they don’t know any different.
There’s also the misconception that rear-facing seats are less safe in a side impact. That’s not supported by research. Modern car seats are tested for side impacts in both configurations, and rear-facing seats generally perform well because the child is contained within the shell.
The safest position for any child is rear-facing, in the back seat, until they outgrow the seat’s limits.
Car Seat Specs: The Numbers You Need to Know
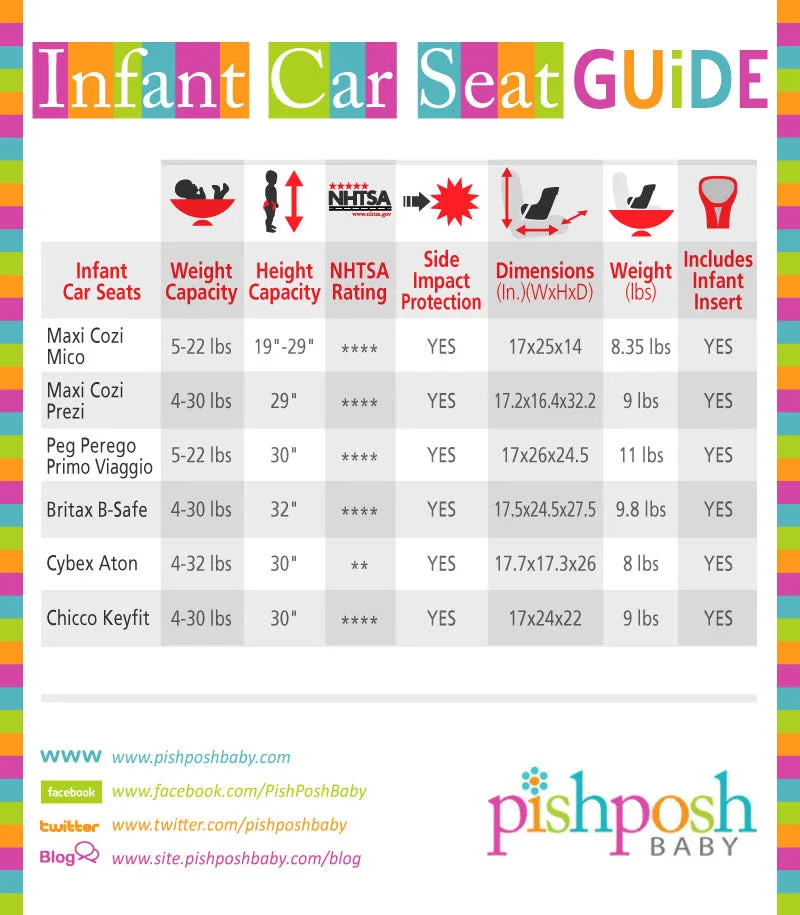
Image source: Bing (Web (fair-use with source credit))
Every car seat sold in the US has a white label permanently attached to the side or base. That label lists the exact rear-facing and forward-facing weight and height limits for that specific model. This is not a suggestion.
It’s the manufacturer’s official specification, tested and certified under FMVSS 213.
The most common numbers you’ll see on convertible seats look like this:
Rear-Facing Limits (Typical Range)
| Specification | Common Range | Examples |
|---|---|---|
| Weight Limit | 35–50 lbs | Graco Extend2Fit: 50 lbs |
| Height Limit | 40–49 inches | Britax Marathon: 49 inches |
| Head Clearance | 1 inch below shell | All models |
The range matters because seats vary significantly. Budget seats often cap rear-facing at 35 or 40 pounds. Premium extended rear-facing seats, like the Graco Extend2Fit or Diono Radian, allow up to 50 pounds.
That’s a big difference. A child who hits 40 pounds at age three still has rear-facing room in a 50-pound seat, potentially extending rear-facing for another year.
Height limits work differently. The rule is that the child’s head must sit below the top of the seat shell. When the crown of the head reaches the top of the shell, the seat is outgrown, even if the weight limit is far away.
This is why tall children often outgrow rear-facing before they hit the weight limit, and why seat shell height matters.
Here’s a practical step you can take right now. Go to your car and read the label. Write down the rear-facing weight and height limits.
Then weigh your child and measure their height. Compare the numbers. If they’re under both limits, they stay rear-facing.
If they’ve exceeded either one, it’s time to switch.
One thing to keep in mind: the label also lists the seat’s expiration date, typically six to ten years from the date of manufacture. If your seat is expired, the plastic has degraded and it won’t perform as tested in a crash. You should replace it before worrying about which direction it faces.
Also, check the manual for the LATCH weight limit. Most vehicle manufacturers specify that LATCH anchors are only rated to a certain total weight, usually 65 pounds including the child and the seat. If your child plus the seat exceeds that, you’re legally required to install using the seat belt instead.
This matters for forward-facing installation, where the top tether still needs to be attached regardless.
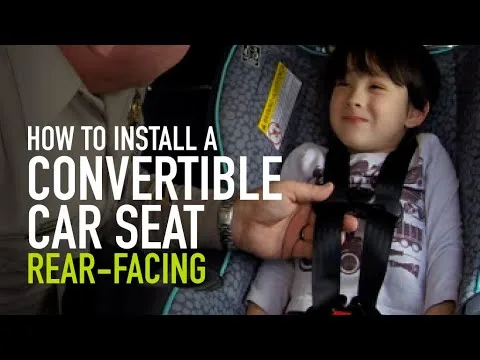
Step-by-Step: How to Make the Switch Safely
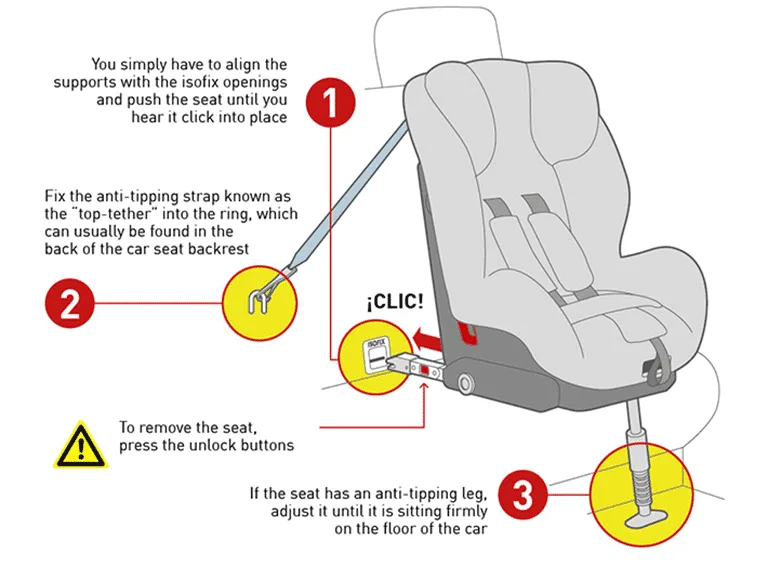
Image source: Bing (Web (fair-use with source credit))
Once you’ve confirmed your child has exceeded the rear-facing limits, the switch is straightforward. But it’s not just a matter of flipping the seat around and calling it done. There are specific steps, and the harness setup changes completely.
Step 1: Read Both Manuals
Pull out the car seat manual and the vehicle owner’s manual. Find the sections on forward-facing installation and top tether anchoring. Every vehicle has specific anchor locations, and every seat has specific harness routing instructions.
Don’t wing it.
Step 2: Remove and Reconfigure the Seat
If your seat has been installed rear-facing, you’ll need to uninstall it entirely. Flip it around and adjust the recline angle. Rear-facing seats sit at a 30 to 45 degree angle.
Forward-facing seats sit more upright, typically 0 to 20 degrees. Check the manual for the exact recline indicator for your model.
Step 3: Route the Harness Correctly

Image source: Bing (Web (fair-use with source credit))
This is the step most parents get wrong. In rear-facing mode, the harness straps come through slots at or below the child’s shoulders. In forward-facing mode, the straps must come through slots at or above the child’s shoulders.
The harness needs to be routed through the correct slots for the seat to hold the child properly in a crash. Many convertible seats have a rethread harness, meaning you have to manually unthread the straps and rethread them through the new slots. Some newer models have a no-rethread harness that adjusts with a headrest, but you still need to verify the strap position.
Step 4: Install the Seat
Place the seat forward-facing on the vehicle seat. Use either the LATCH system or the seat belt, whichever the manual and your child’s weight allow. For LATCH, check the weight limit on your vehicle’s anchors.
If the child plus seat exceeds that, use the seat belt. For seat belt installation, lock the belt and tighten until the seat moves less than one inch side to side.
Step 5: Attach the Top Tether
This is non-negotiable. The top tether is a strap that hooks from the top of the car seat to an anchor point in your vehicle, usually located on the back of the seat or the floor. It reduces head movement in a crash by several inches, which can prevent serious head injuries.
Route the tether strap over the vehicle seat back and hook it to the anchor. Tighten until the strap is snug. If you skip this step, you’ve significantly reduced the seat’s crash performance.
Step 6: Adjust the Harness
Check that the chest clip sits at armpit level and the straps are snug against your child’s body. You should not be able to pinch any slack in the webbing at the shoulder. The harness should be tight enough that it’s difficult to pinch, but not so tight it’s uncomfortable.
Step 7: Do the Final Check
Grab the seat at the belt path and wiggle it. It should move less than one inch in any direction. If it moves more, tighten the installation.
Then walk away. If you’re at all unsure, find a certified Child Passenger Safety Technician in your area. They’ll check your work and usually fix it for free.
Most parents find the switch takes about 15 to 30 minutes the first time. The longer you’ve had the seat installed rear-facing, the more rust there is on your installation skills. That’s normal.
You’re not bad at this. You’re just out of practice.